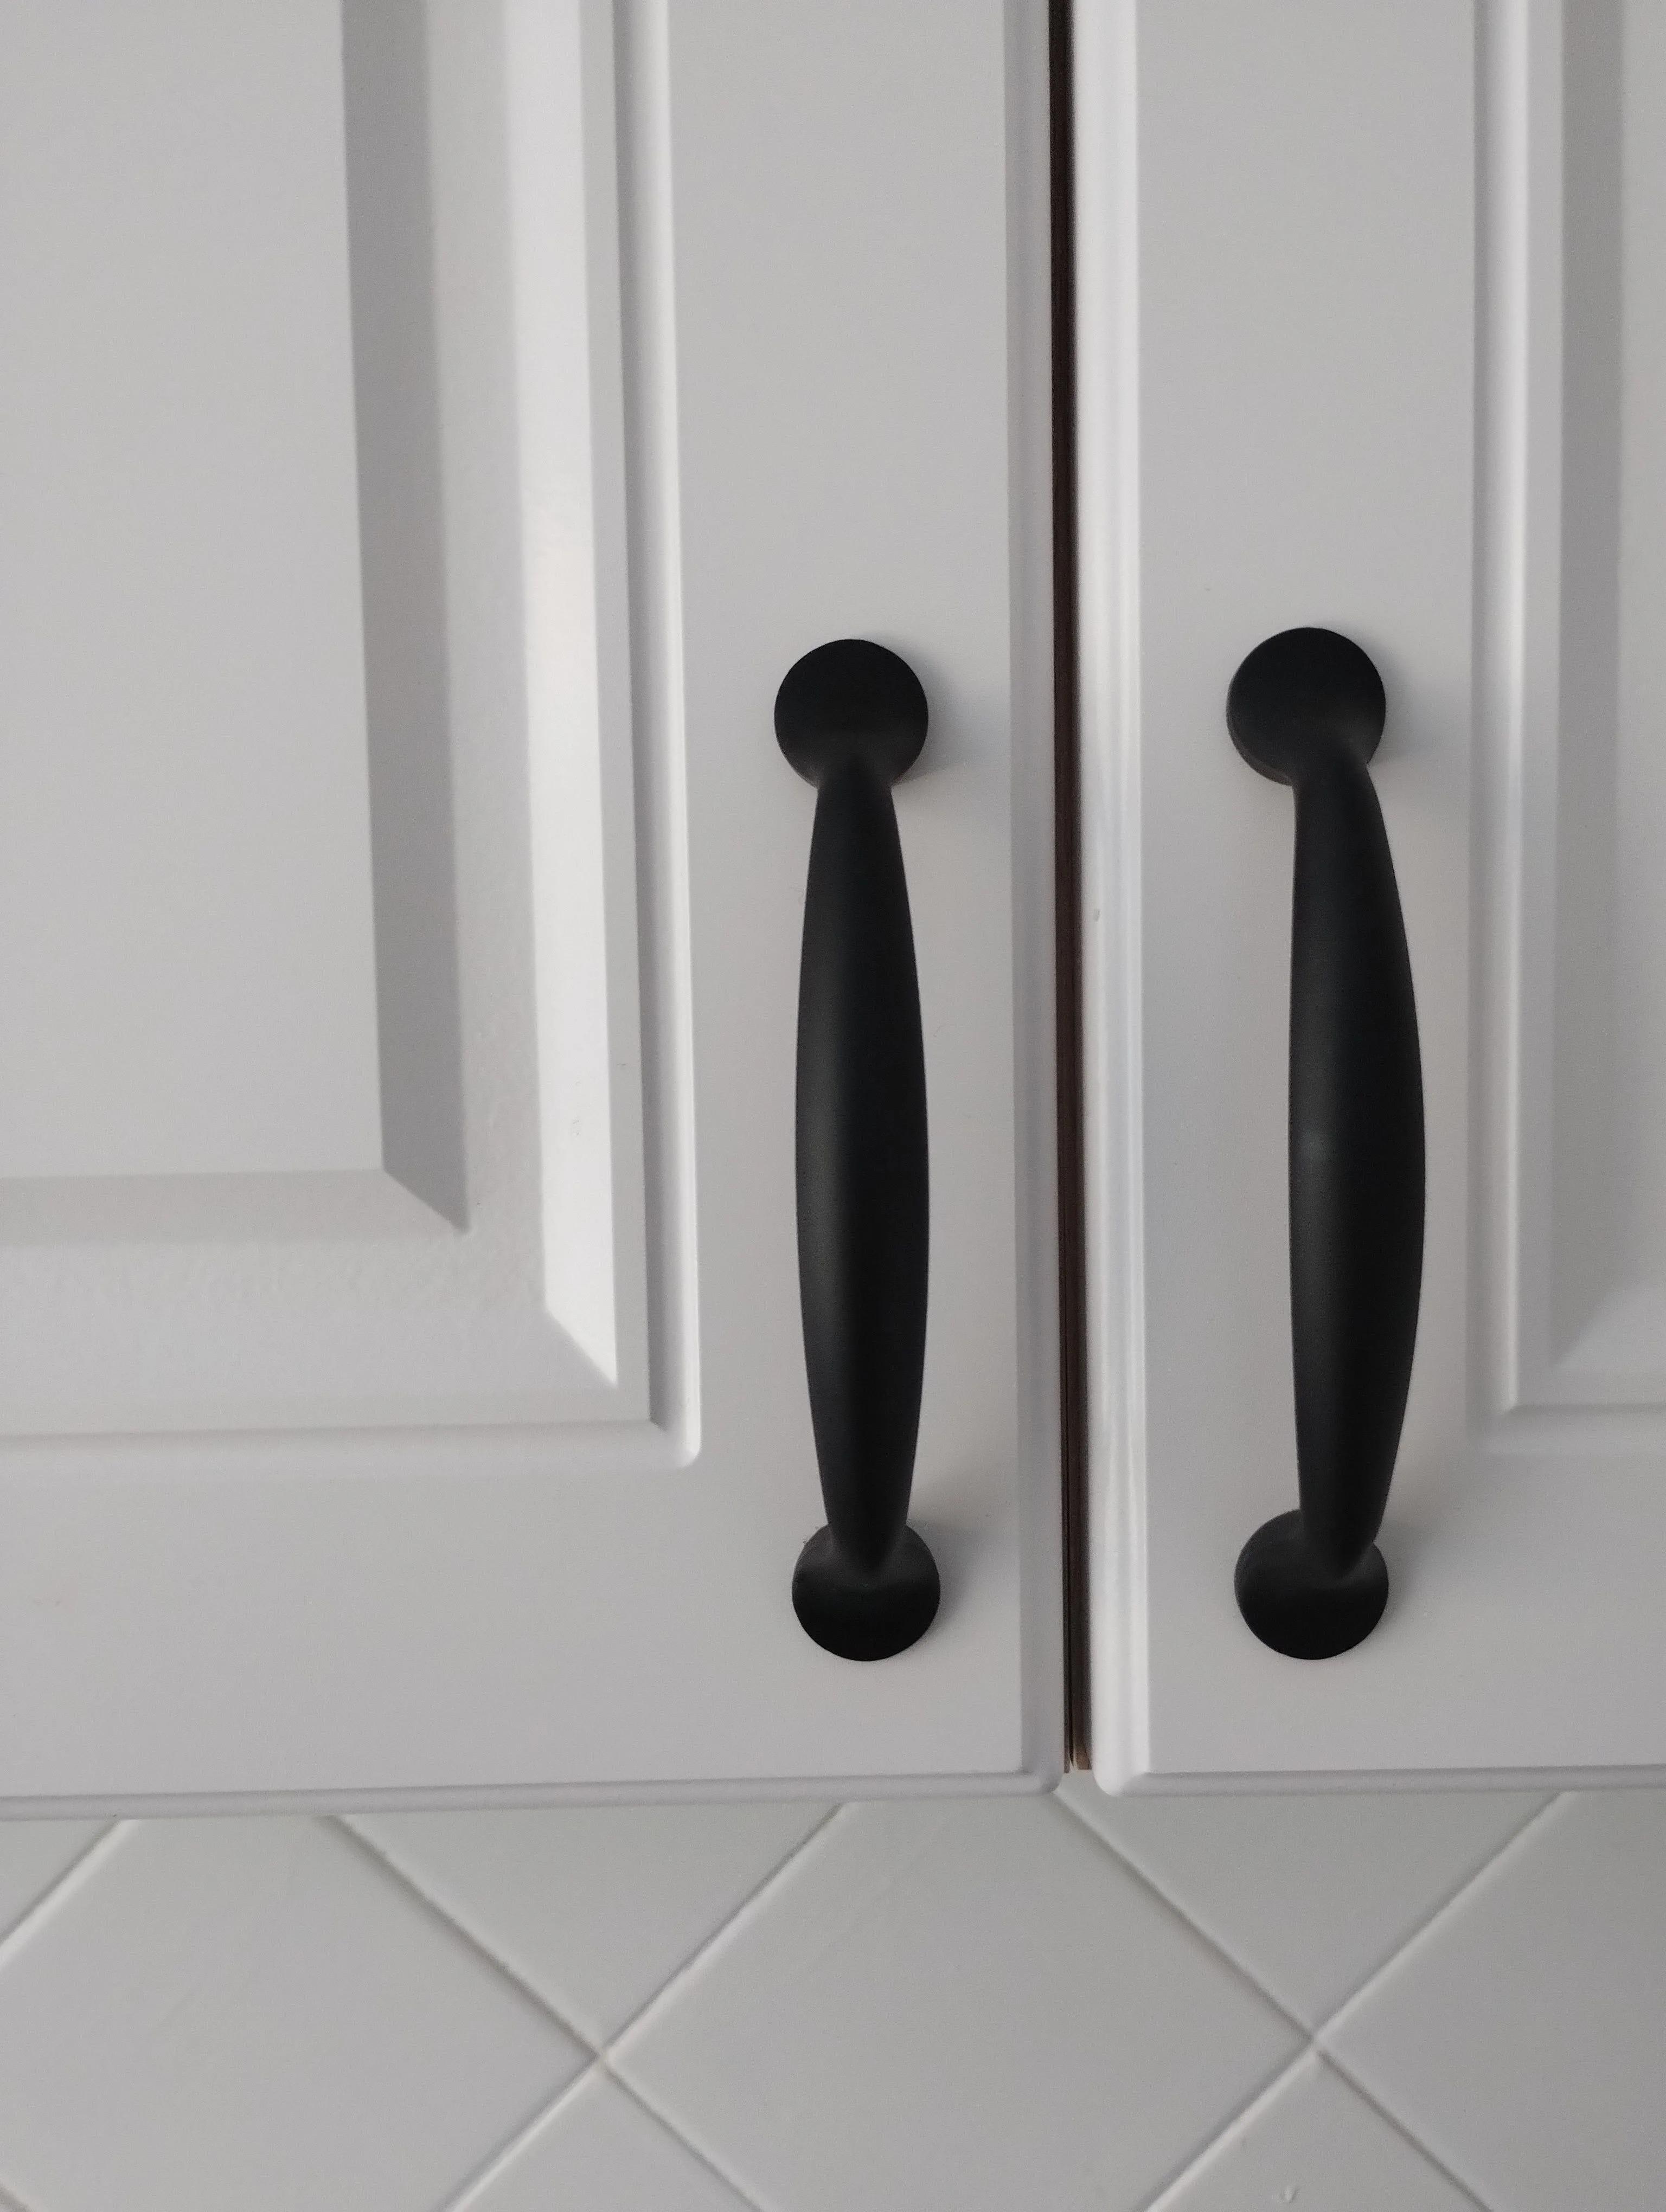
Swapping cabinet hardware is the best cost-to-impact ratio in kitchen renovation — new pulls and knobs change the entire visual feel of a kitchen in a single afternoon, without touching a single cabinet box or door finish. The only real risk is drilling new holes in the wrong spot on real wood you can't undo. A $10–$30 drilling jig removes almost all of that risk, which is why it's worth buying even for a one-time job.
Budget half a day for an average kitchen of 30–45 pieces of hardware: with a jig, plan on roughly 90 minutes of actual drilling and installing; without one, expect 3–4 hours and less consistent results. Skill level is beginner — this is one of the most approachable projects in home renovation.
Materials, Tools, and Cost
Most full-kitchen hardware updates land between $400 and $1,800 for 30–45 pieces, depending on whether you choose budget knobs (a few dollars each) or designer pulls ($15–$40 each). A cabinet hardware drilling jig runs $10–$30 and pays for itself in time and accuracy the first time you use it. If you don't already own a drill, budget $20–$100 for a basic one — it's a tool worth owning permanently, not renting.
Shopping list:
- New knobs or pulls (measure existing hole spacing first if reusing holes — see prep below)
- Cabinet hardware drilling jig, adjustable to your chosen center-to-center spacing
- Drill and bits sized to the hardware's screw diameter (usually ⅛"–¼")
- Wood putty matched to cabinet color, if old holes won't align with new hardware
- Painter's tape, pencil, tape measure, small level
- Screwdriver or drill driver bit for final tightening
Prep: Measure Before You Buy
- Measure your existing hole spacing if you're keeping knobs (single hole, no spacing to measure) or matching an existing pull pattern. Pulls use a center-to-center (cc) measurement — common sizes are 3", 3¾" (96mm), 128mm, and 160mm. Buying new pulls that match your existing spacing means you reuse the old holes and skip drilling entirely.
- Decide if you're changing spacing or hole count (e.g., swapping knobs for pulls, or changing pull length). This is the scenario that requires new holes and a plan for the old ones.
- Test hardware placement on one door first. A typical rule of thumb: pulls mounted vertically on upper cabinet doors, horizontally on lower cabinet doors and drawers, roughly 2–3 inches from the door's outer edge — but check a few reference photos of your exact cabinet style, since face-frame vs. frameless changes the ideal spot slightly.
- Set the jig to your chosen spacing and test it on a scrap piece of wood or the inside of a cabinet door before drilling anything visible.
- Remove all doors and drawer fronts and lay them on a padded surface — hardware installs far more accurately on a flat surface than in place on the hinges.
Drilling and Installing
- Clamp or hook the jig onto the door edge at your marked reference point (top corner for upper cabinets, standard offset for lowers and drawers), keeping it square and consistent door to door.
- Drill through the jig's guide holes, backing a scrap block behind the door if it's thin veneer or MDF, to prevent blowout (splintering) on the back face as the bit exits.
- Repeat identically for every door and drawer, resetting the jig against the same reference edge each time — this consistency is the entire point of using a jig instead of a tape measure and pencil.
- Mount the hardware, hand-tightening first, then snugging with a driver — don't overtighten into MDF or thin veneer, which strips easily.
- Fill and touch up any old holes that don't align with the new hardware: wood putty, let it cure, sand flush, then dab on matching paint or stain.
Finishing Touches
- Step back and check hardware alignment across the whole run of cabinets from a distance — small inconsistencies that look fine door-to-door sometimes read as crooked across a full wall of cabinets.
- Wipe down all doors and drawer fronts before rehanging — drilling leaves dust in cabinet finish grain that shows up under the new hardware's shine if not cleaned off.
- Rehang doors and check reveal gaps (the even spacing between doors) since removing and reinstalling doors is also a good moment to adjust hinges if anything's sagged over the years.
- Keep a few spare screws from the old hardware — new pulls sometimes ship with screws too short or too long for your door thickness, and having options on hand avoids a hardware-store run mid-project.
Done with a jig and a measured plan, new cabinet hardware is one of the fastest true transformations in the house — most kitchens look meaningfully more current with nothing else changed. It's also one of the few renovation projects with essentially zero risk: worst case, a filled and touched-up hole is invisible within a week.