A custom closet system from a big-box retailer or closet company can run $2,000–$5,000 for a standard reach-in closet. Building your own out of plywood or melamine gets you the same double-hang, shelving, and shoe-storage layout for a few hundred dollars — the trade-off is a weekend of cutting and assembly instead of a phone call. If you can measure accurately and cut a straight line, this is a very achievable project.
Budget one full weekend for a standard 6-foot reach-in closet: a day to plan, shop, and cut panels, a second day to assemble and install. Skill level is beginner-to-intermediate — the layout math matters more than the woodworking skill.
Materials, Tools, and Cost
Melamine board (pre-finished, no paint needed) typically runs $100–$150 for a project this size, while a plywood-based build runs $150–$200 in material for two 4x8 sheets at $35–80 each, plus finish. A basic 6-foot closet with a center tower, double hanging rods, and shoe shelves lands around $150–450 in materials total depending on which you choose — compare that to $2,000+ for an installed custom system.
Shopping list:
- Melamine sheets (¾" for shelves and verticals, pre-finished white or wood-grain) or cabinet-grade plywood (¾" minimum, ½" is too thin for long shelf spans without sagging)
- Closet rod and rod end brackets/sockets ($20–$40)
- Shelf brackets or cleats, depending on design (a cleat-and-dado design needs no visible brackets)
- Edge banding (iron-on, for melamine cut edges — raw melamine edges chip and look unfinished)
- Wood screws, wood glue, finish nails for face frames if used
- Paint or stain if using plywood (melamine skips this step entirely)
- Circular saw or table saw with a fine-tooth blade (melamine chips badly with a rough blade), track or straightedge guide for long rip cuts
- Drill/driver, level, stud finder, tape measure, pencil, square
Prep: Measure, Plan, Then Buy
- Measure the closet opening — width, depth, and height, at multiple points, since older homes rarely have perfectly square closets. Use the smallest measurement as your design constraint.
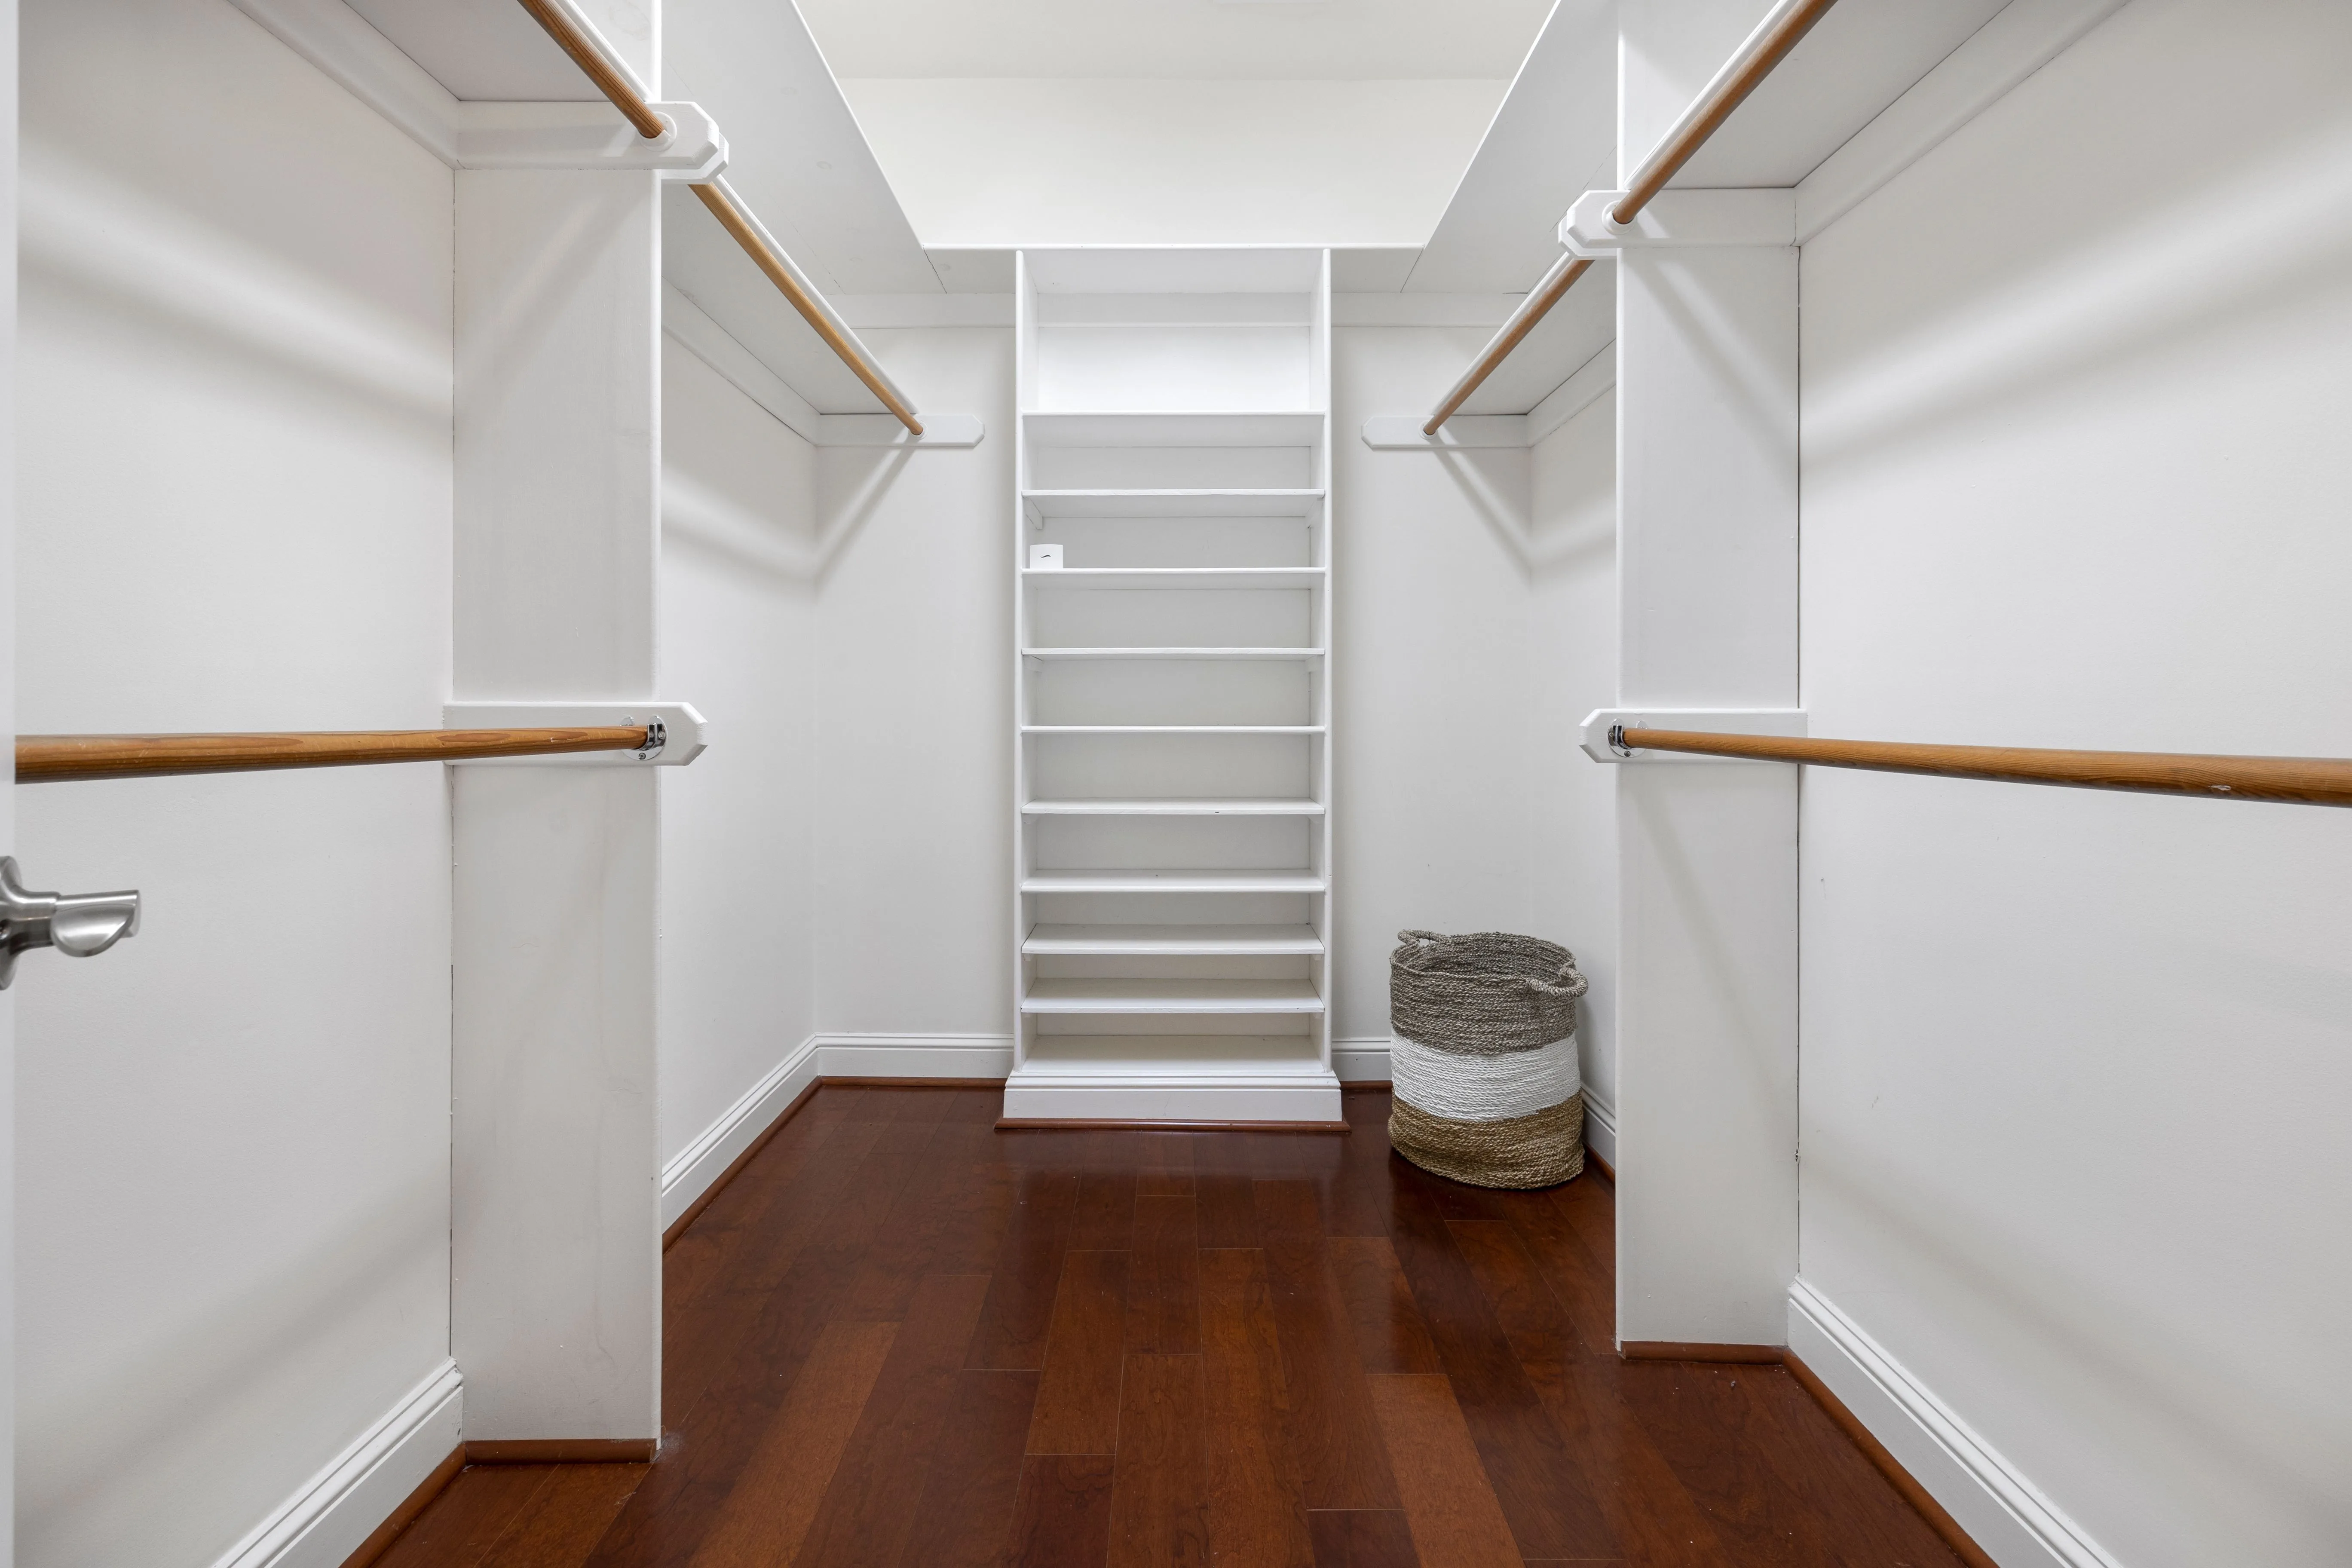
- Decide your zones. A standard reach-in works well as: one side double-hung (rod at ~40" and ~80" from the floor for shirts/folded pants), the other side single long-hang (rod at ~68–70" for dresses and coats), plus a shelf column in the middle or on one end for folded items and shoes.
- Sketch the layout with real dimensions before cutting anything — note shelf spans (a 12"-deep melamine shelf without support sags noticeably past 32–36" unsupported; add a center support past that).
- Locate wall studs with a stud finder and mark them — any vertical support or hanging rod bracket anchored into a stud instead of just drywall will hold real weight over years, not months.
- Cut your panels to final dimensions, ideally having the big-box store make the long rip cuts on a panel saw when you buy the sheets — it's often free or cheap and far more accurate than a circular saw freehand.
Building and Installing
- Build the vertical support/tower first if your design includes one — this is typically a simple plywood or melamine box with dado-cut or cleat-supported shelves, assembled with glue and screws for rigidity.
- Attach a ledger strip (cleat) along the back wall at each shelf height, screwed into studs — shelves resting on cleats carry far more weight than shelves held only by small L-brackets.
- Set shelves onto the cleats, securing with screws through the cleat into the underside of the shelf, and into any side wall cleats too if the shelf spans wall-to-wall.
- Install the vertical tower (if used) plumb and level, securing top and bottom into studs or with construction adhesive plus screws into blocking.
- Mount rod brackets at your planned heights, into studs wherever possible; use closet rod sockets rated for the rod diameter and expected load — a rod loaded with winter coats needs full support, not just end brackets, if it spans more than 4 feet (add a center support bracket).
- Cut and drop in the rods, checking level and giving a firm tug test before loading them with clothes.
- Apply edge banding to any exposed melamine cut edges with a household iron, then trim the excess flush with a utility knife once cool.
Finishing Touches
- Add a shoe shelf with a slight forward tilt (a strip of scrap under the front edge does it) so shoes don't slide off and are easier to see at a glance.
- Paint or finish plywood before final installation if possible — it's far easier to get clean coverage on a flat panel on sawhorses than in a cramped closet.
- Label or plan drawer/basket zones at the bottom if you're adding baskets — standard wire or fabric bin widths (usually 11", 13", or 16") should drive your shelf spacing, not the other way around.
- Load-test overnight before fully loading the closet — hang a full rod's worth of coats and check the rod and brackets the next morning for any sag or loosening before committing the whole wardrobe.
A closet built this way, with rods and shelves anchored into studs rather than drywall alone, should hold up to daily use indefinitely — melamine in particular won't warp, peel, or need refinishing the way painted plywood eventually does. It's one of the best cost-to-storage ratios in home renovation, and unlike a kitchen or bath remodel, a mistake here costs you a sheet of material, not a plumbing callback.