Grout is a sacrificial layer by design — it's meant to wear, crack, and get replaced before the problem reaches the tile or the subfloor underneath. If your bathroom floor grout is cracking, crumbling, or has gone permanently gray no matter how much you scrub it, regrouting isn't optional maintenance — it's the barrier between your tile joints and water damage you can't see until it's expensive.
This is a true weekend project for an average bathroom floor (40–60 sq ft): plan on 3–5 hours to remove old grout, a few hours to apply new grout, and then 48–72 hours of cure time before the floor sees regular foot traffic and moisture. Skill level is beginner-to-intermediate — the grout removal is the part that separates a clean job from a wrecked one, so go slow there.
Materials, Tools, and Cost
Regrouting is one of the cheapest high-impact renovation jobs there is. For a small-to-average bathroom floor, materials run under $100 to about $200 if you're buying a grout removal tool for the first time. A 25-lb bag of grout costs $10–25 and covers 100–200 sq ft depending on tile size and joint width — more than enough for one bathroom, with leftovers for touch-ups later. A professional would charge roughly $5–11 per sq ft for the same job, so DIY savings on an average floor are substantial.
Shopping list:
- Grout — sanded for joints ⅛" or wider (standard for floor tile), unsanded for hairline joints
- Grout removal tool: a manual grout saw ($4–15) works for small jobs; an oscillating multi-tool with a grout removal blade ($20–30 attachment) is dramatically faster on a full floor and less likely to skate into the tile edge
- Shop vac for dust and debris
- Grout float (rubber-edged)
- Large sponges and a bucket, changed to clean water often
- Grout sealer (skip for epoxy grout — it doesn't need it)
- Painter's tape to protect tile edges and any fixtures
- Knee pads — you'll be down on this floor for hours
- Safety glasses; grout removal throws grit
Prep: Get the Old Grout Fully Out
Half-removed grout is the number one reason regrout jobs fail early — new grout won't bond to old grout residue, and the joint fails again within months.
- Clear the room. Move the bath mat, remove the toilet if grout runs underneath it (or at minimum tape off the base), and ventilate — open a window or run a fan, since grout dust is fine and irritating.
- Score along tile edges with painter's tape on tiles you want to protect from tool slips, especially glazed or glass tile that scratches easily.
- Remove the old grout by running the grout saw or oscillating tool blade down the center of each joint, working in short strokes and letting the tool do the cutting rather than forcing it sideways — sideways pressure is what chips tile edges. Go deep enough to remove grout down to the backer board or at least ⅛"–¼" below the tile surface; a shallow scrape leaves too little room for new grout to grip.
- Vacuum thoroughly after each section — old grout dust left in the joint contaminates the bond of the new grout.
- Inspect as you go. Hollow-sounding tile (tap test) or crumbling backer board under a joint means you have a bigger problem than grout — a loose or water-damaged tile should be reset, not grouted over.
Applying New Grout
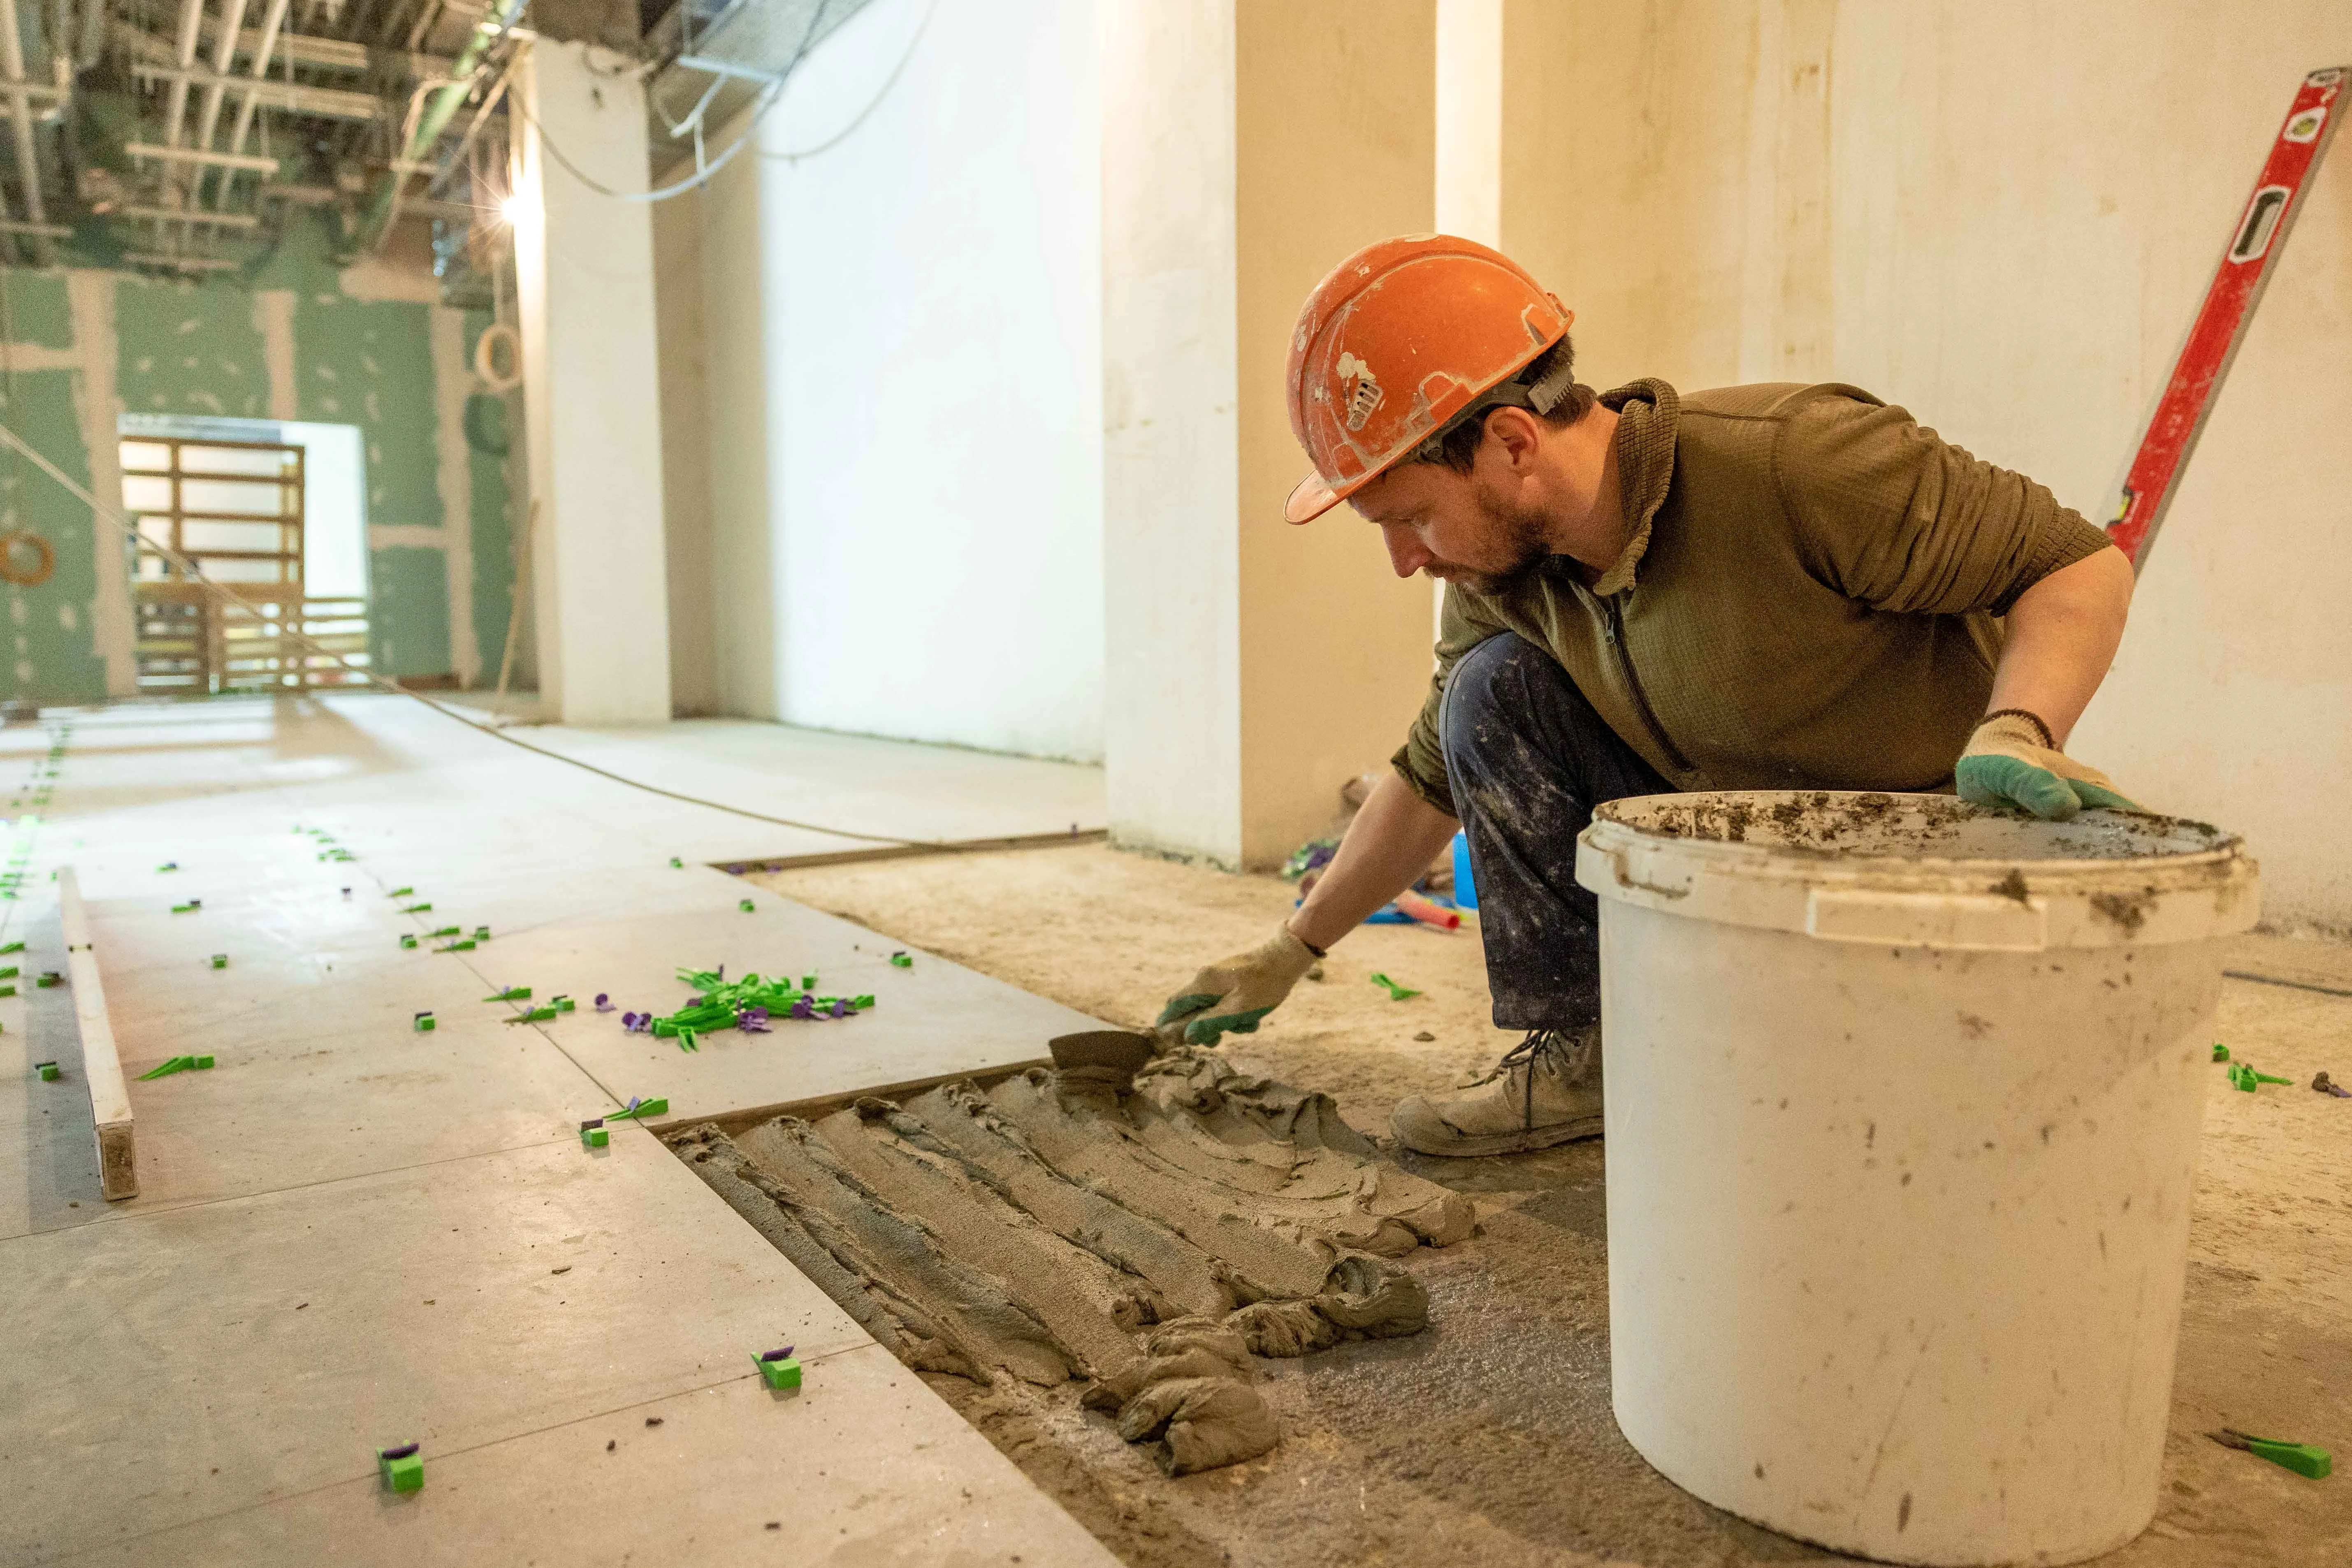
- Mix grout to a consistency like thick frosting — firm enough to hold a peak, not runny. Mix only what you can apply in 20–30 minutes; grout starts to set once mixed.
- Load the float and work grout into the joints diagonally across the tile lines, not parallel to them — this packs the joint fully instead of dragging grout along the top of it.
- Press firmly; air pockets in the joint are where cracks start next.
- Scrape excess grout off the tile face with the float held near-vertical, again working diagonally, before it sets up.
- Wait roughly 15–20 minutes (check the product label — this varies by brand and by room temperature), then wipe with a barely damp sponge in diagonal strokes, rinsing the sponge in clean water every couple of passes. Change the bucket water when it gets cloudy — dirty rinse water smears haze back onto the tile instead of removing it.
- Let a grout haze form, then buff it off with a dry cloth once the surface has hazed over, usually within an hour.
Finishing Touches and Long-Term Care
- Don't grout the perimeter where the floor meets the tub, shower curb, or wall — those are movement joints and need flexible caulk, not rigid grout, or they'll crack again within a season. Re-caulk those lines while you're in there; it's the same afternoon's work and it's the other half of keeping water out.
- Cure before wetting. Keep the floor dry — no showers dripping onto it, no mopping — for the full cure window on the bag, typically 48–72 hours for cement-based grout.
- Seal it. Once cured, apply a penetrating grout sealer to cement-based grout; reapply annually in a bathroom, since this is the highest-moisture room in the house. Epoxy grout is inherently sealed and never needs this step, though it costs more and is less forgiving to apply — worth considering if you never want to think about grout maintenance again.
- Reinstall the toilet with a new wax ring if you pulled it, and don't reconnect water or sit weight on it until the surrounding grout has fully cured.
Field tips: work in small sections — one row or one 3x3 ft area at a time for both removal and application — rather than stripping the whole floor before grouting any of it; bare joints left open too long can collect moisture between visits. And if you're regrouting because of a persistent mildew smell rather than visible cracking, check the caulk lines and the wax ring first — grout is rarely the actual water entry point, it's usually the flexible joints around it.
Done right, a regrout job resets the floor's water resistance to like-new and costs a fraction of a full retile. It's unglamorous work, but it's the kind of maintenance that prevents a five-figure subfloor repair down the line.