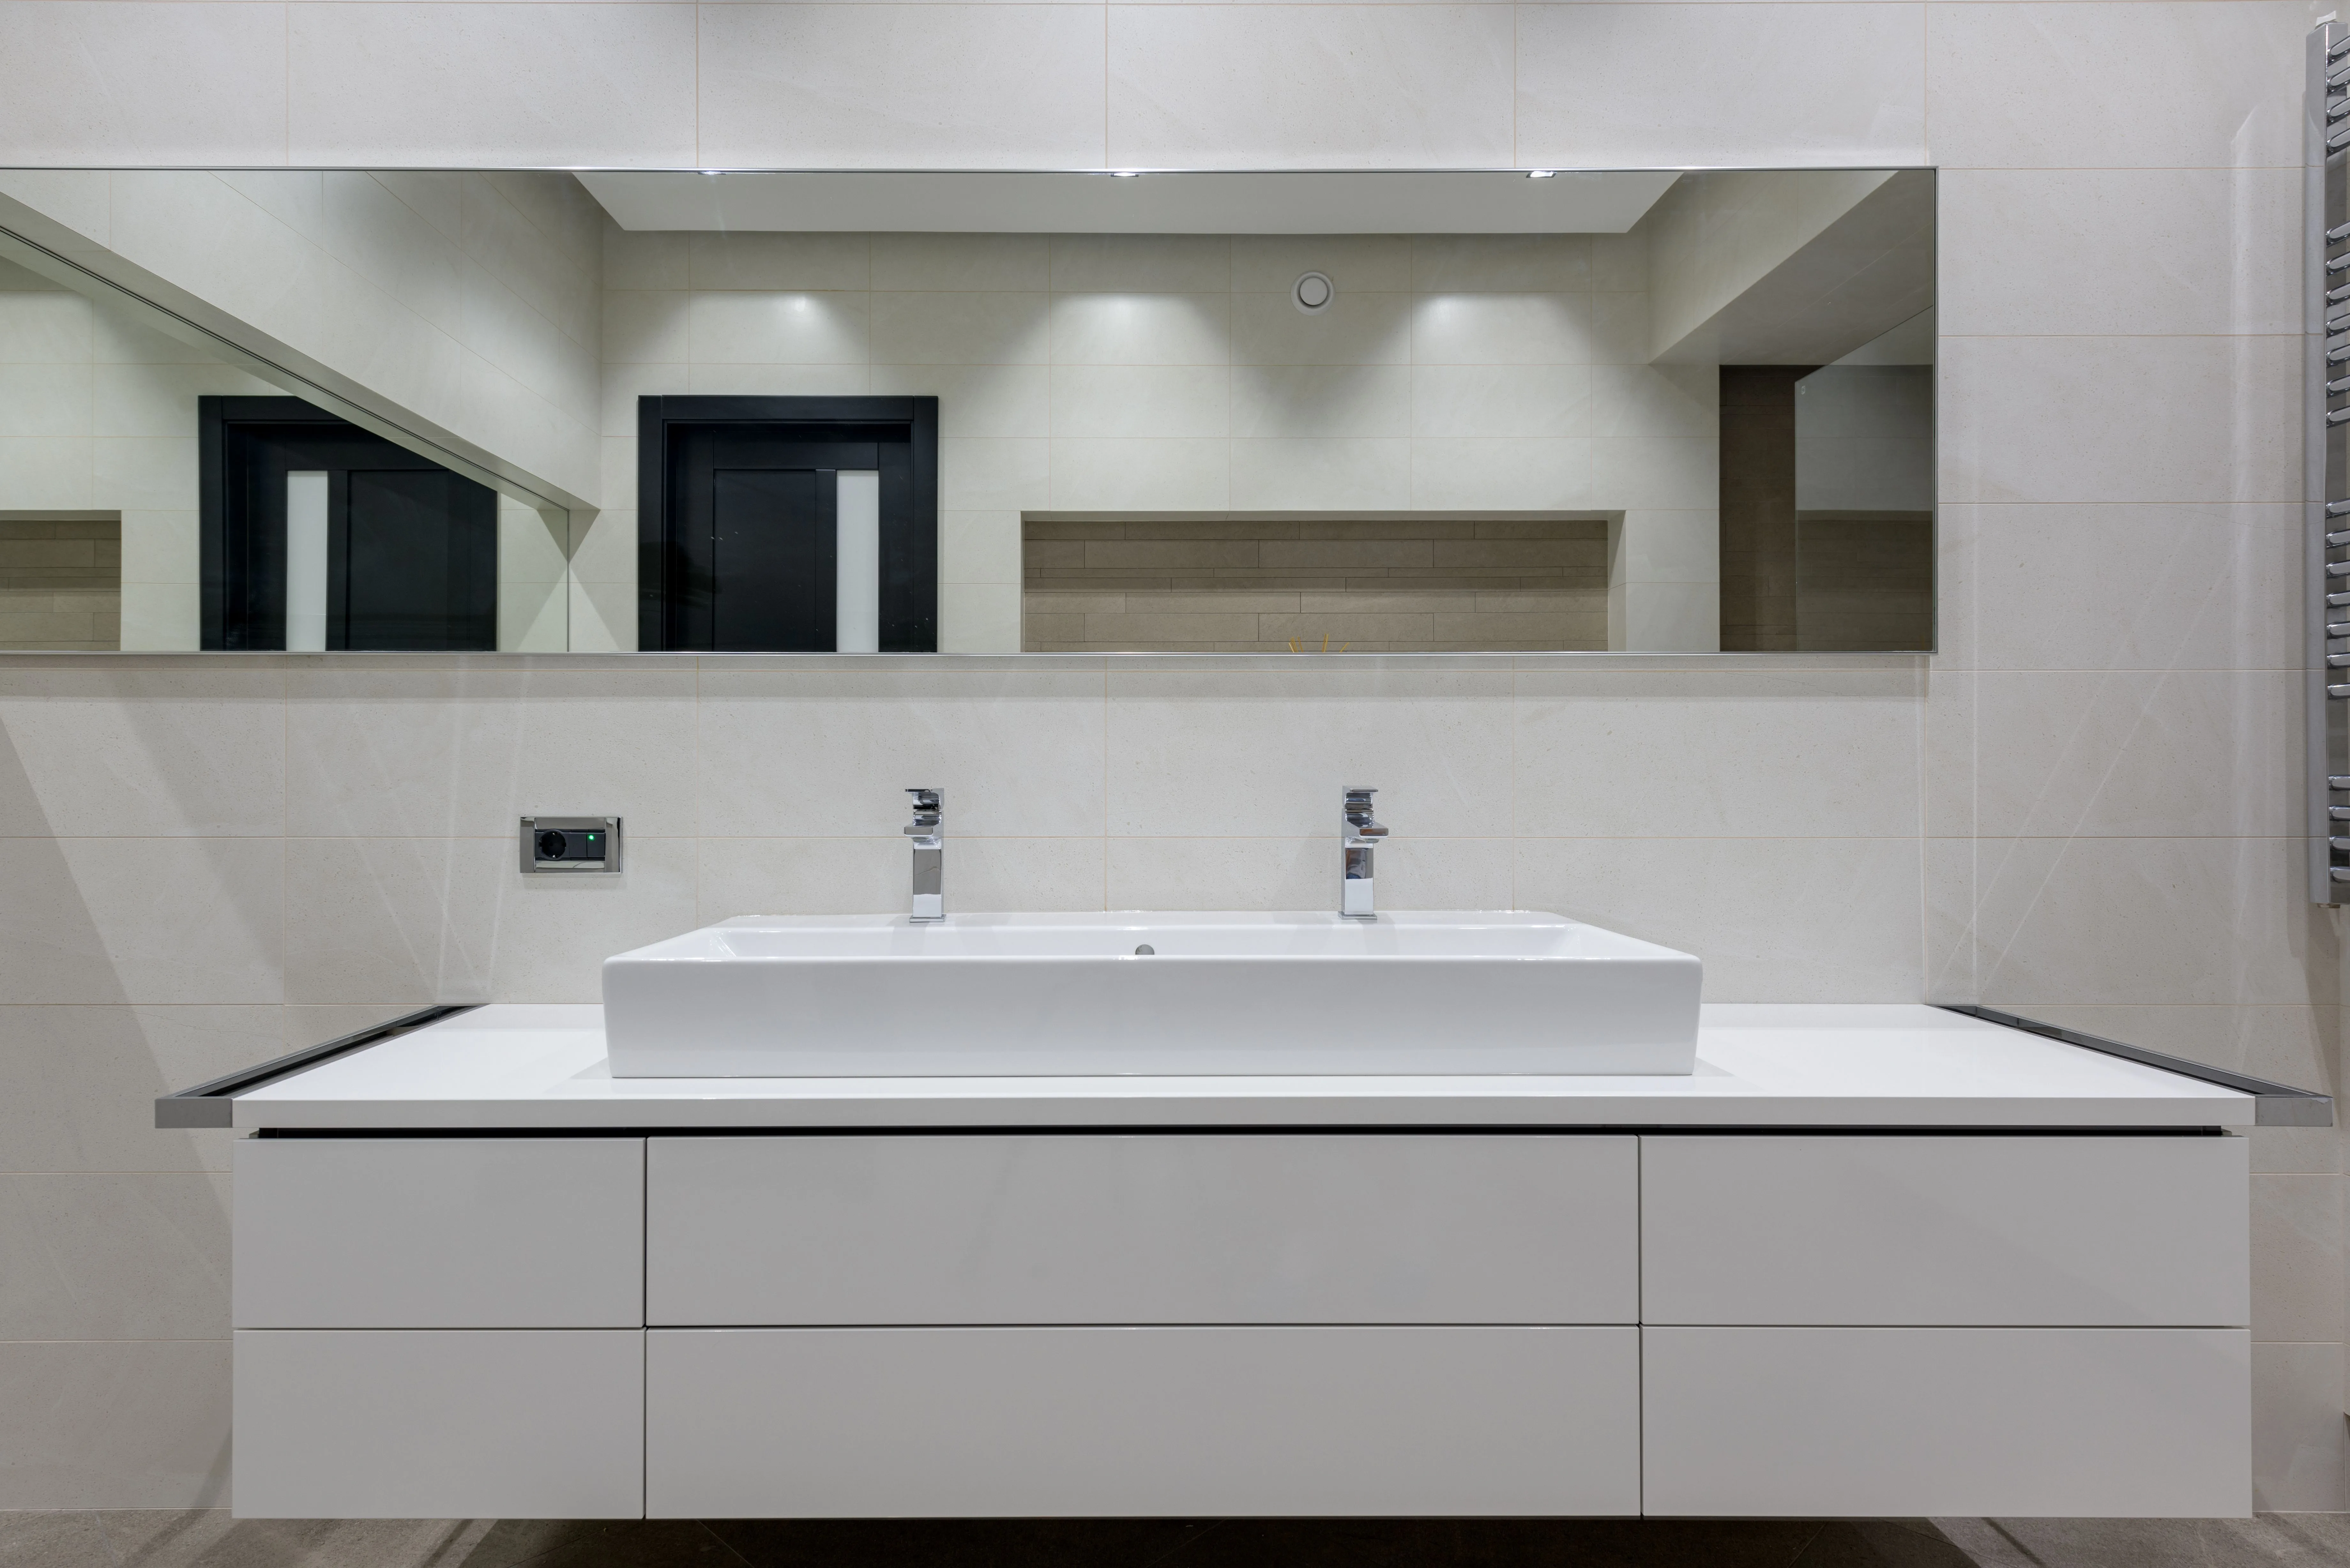
Installing a bathroom vanity is one of the most approachable plumbing-adjacent projects in the house — as long as you keep it a like-for-like swap. If the new vanity sits in the same footprint as the old one and the water supply and drain don't need to move, this is a straightforward afternoon project. The moment you want to relocate plumbing or hang a floating vanity off exposed studs, the stakes (and the skill required) go up considerably.
Budget half a day for a standard freestanding swap in the same footprint: 2–4 hours of actual work plus time to let any caulk or adhesive set. Skill level is beginner-to-intermediate for a straightforward swap; call a licensed plumber if supply or drain lines need to move, or if you hit corroded shutoff valves you can't safely work around.
Materials, Tools, and Cost
The national average for bathroom vanity installation, including the vanity itself, runs around $1,500, with most homeowners spending $400–$2,200 depending on vanity size, countertop material, and plumbing complexity. DIYing a same-footprint swap saves the bulk of the labor cost — typically $665–$3,300 versus hiring it out — since the vanity and countertop are the same expense either way.
Shopping list:
- New vanity with countertop/sink (pre-attached, or a separate countertop plus basin)
- P-trap and supply lines sized to match the new sink drain and faucet (buy new — old flexible supply lines fail more than any other part)
- Faucet, if not included with the vanity
- Silicone caulk (100% silicone, mildew-resistant, for the sink-to-counter seam and vanity-to-wall seam)
- Construction adhesive or vanity mounting screws with matching wall anchors
- Basin wrench, adjustable wrench, plumber's tape (PTFE tape), bucket for residual water in old lines
- Level, stud finder, drill/driver, caulk gun, shims for uneven floors
Prep: Shutoff and Removal
- Shut off water at the supply valves under the old vanity, then open the faucet to relieve pressure and confirm the water is actually off before disconnecting anything.
- Disconnect the P-trap and supply lines, draining residual water into a bucket — old flexible lines and P-traps are cheap; replace rather than reuse them on the new install.
- Remove the old vanity, checking for anchor screws into wall studs and caulk sealing it to the wall and floor — score the caulk line with a utility knife first so you don't tear the wall finish.
- Inspect the wall and floor behind and under the old vanity while it's exposed — this is your only easy access to check for hidden water damage, soft subfloor, or a valve that needs replacing before you commit to the new unit.
- Cap or extend plumbing as needed if the new vanity's basin or drain position differs even slightly from the old one — small differences (a few inches) sometimes still work with a flexible P-trap kit, but confirm before you buy one assuming it will.
Installing the New Vanity
- Dry-fit the vanity in place first, without adhesive or fasteners, to confirm it clears the existing plumbing rough-in and fits the footprint.
- Level it in both directions. Set a level across the top front-to-back and side-to-side — bathroom floors are rarely perfectly flat, so shim under the low corners until it reads level, then mark the shim height so it stays put.
- Mark and drill into studs where possible for the mounting screws; if no stud lines up, use rated wall anchors sized for the vanity's weight plus a loaded countertop.
- Secure the vanity to the wall with screws (and to the floor if the model calls for it), then caulk the wall-facing seam once it's fastened.
- Set the countertop/sink if it wasn't pre-attached, sealing the underside perimeter with silicone before setting it down, then clamp or weight it while the adhesive cures per the label.
- Install the faucet before connecting supply lines — it's much easier to tighten faucet nuts from underneath before the sink is boxed in by the cabinet sides.
- Reconnect the P-trap and supply lines, hand-tightening first, then a quarter-turn more with a wrench — overtightening plastic P-trap nuts cracks them.
- Turn the water back on slowly and check every connection for drips, running the faucet and letting water drain fully to test the trap too.
Finishing Touches
- Recheck all connections after 24 hours — a slow drip often doesn't show up until the fittings settle and the first pressure cycle finds the weak joint.
- Caulk the sink-to-countertop seam and the vanity-to-wall seam with mildew-resistant silicone, tooling it smooth with a wet finger for a clean bead.
- Install cabinet hardware (knobs or pulls) before loading the cabinet with toiletries — it's a five-minute job that's far more annoying with the drawers full.
- Test the drawers and doors for square once the vanity is loaded — a slightly unlevel install often only shows up as a door that swings open on its own once weight settles.
A vanity installed this way — level, properly sealed, and with fresh supply lines — should give trouble-free service for as long as the fixtures inside it last, typically 15–20 years. The plumbing connections are the only part with real consequences if rushed, so take the extra ten minutes to check every joint before you consider the job done.