Refinishing hardwood floors is one of the highest-payoff renovations you can do — it can make 20-year-old flooring look new for a fraction of replacement cost — but it's also one of the least forgiving DIY projects on this list. A drum sander removes wood fast, and an uneven pass leaves a dip that's visible under any raking light for the life of the floor. This guide covers the full sand-stain-seal process, but if your floors have deep water damage, structural cupping, or you're nervous about the drum sander, a full refinish is a reasonable one to hire out.
Budget a full weekend to a full week depending on room size and dry times: a day of sanding, a day for staining (if used), and 2–3 days of polyurethane coats with drying time between each. Skill level is intermediate to advanced — start in a closet or low-visibility room to get a feel for the sander before tackling the living room.
Materials, Tools, and Cost
DIY refinishing runs roughly $500–$1,000 in rental equipment and supplies for an average whole-floor job, versus $1,100–$2,663 (and $3–$8 per sq ft) for a professional crew — the labor savings is substantial, which is why this remains a popular DIY project despite the difficulty. If your existing finish is only worn, not gouged or cupped, a lighter "screening" (buff and recoat) job runs $1.00–$2.50 per sq ft in materials and skips the drum sander entirely — always check whether you actually need a full sand before committing to one.
Shopping list:
- Drum sander rental ($70–$100/day) plus edger, and ideally an orbital finish sander — full equipment rental for one day often runs $150–$200
- Sandpaper in a full grit sequence: 36 or 40 grit (coarse, for finish and old stain removal), 60 grit, 80–100 grit (final smoothing pass)
- Wood filler for gouges and gaps between boards
- Tack cloths and a shop vac for dust removal between grits
- Stain, if changing or refreshing color (oil-based penetrates deeper; water-based dries faster and off-gasses less)
- Polyurethane topcoat — oil-based is more durable and ambers slightly; water-based dries clear and fast but needs more coats
- Natural-bristle or foam applicator pads, painter's tape, respirator mask, kneepads
Prep: Before the Sander Ever Touches the Floor
- Clear the room completely and remove shoe molding/quarter-round along the baseboards — sanding under it is impossible and it hides the transition anyway.
- Set every protruding nail or staple below the surface with a nail set — a sander drum will shred its own sandpaper (and possibly gouge the floor) on an exposed nail head.
- Fill large gouges and gaps with wood filler matched to species, and let it cure fully before sanding — sanding wet filler smears it across the boards.
- Seal the room off from the rest of the house with plastic sheeting over doorways; drum sanding produces enormous amounts of fine dust that travels through HVAC ducts if you don't isolate it.
- Test in an inconspicuous area — inside a closet or under a rug — to dial in sander pressure and grit before working the main floor.
Sanding: The Step That Can't Be Undone
- Start with the coarsest grit (36–40) on the drum sander, running with the grain, and never let the drum sit still while spinning — a stationary sander cuts a trench in seconds. Keep the sander moving in overlapping passes, tilting it up at the end of each pass before reversing direction.
- Sand the perimeter and corners with the edger, which reaches where the drum sander can't — blend the edger passes into the drum-sanded field so there's no visible line between the two.
- Vacuum thoroughly between each grit. Leftover coarse-grit dust gets dragged by the next finer grit and causes scratches you'll only notice after staining.
- Progress through the full grit sequence (36/40 → 60 → 80–100) — skipping grits leaves sanding marks that only show up once stain or finish highlights them.
- Finish with a final buff using a floor buffer and fine screen, then tack-cloth the entire floor to remove all dust before staining or sealing.
Staining and Sealing
- Apply stain with the grain using a rag, brush, or foam applicator, working in manageable sections and wiping excess before it dries tacky — uneven wipe timing is the #1 cause of blotchy stain.
- Let stain dry fully per the label, typically 24 hours, before topcoat — coating over wet stain traps solvent and causes a cloudy, soft finish.
- Apply the first polyurethane coat thin and even with a lambswool applicator, working with the grain and maintaining a wet edge just like painting a wall.
- Lightly screen-sand between coats (220-grit or a fine screen) once each coat is dry to the touch, then tack-cloth again — this is what gives the final coat that glass-smooth feel.
- Apply 2–3 coats total, with full cure time (check the label — often 24 hours between coats, and several days before furniture goes back) before walking normally on the floor.
Finishing Touches
- Wait the full cure time — usually 3–7 days — before moving furniture back, and use felt pads under every leg even after that.
- Avoid rugs with rubber backing for the first few weeks; uncured finish can react with rubber and leave a permanent mark.
- Reinstall shoe molding once the finish is fully cured, nailing into the baseboard, not the floor, so the floor can still expand and contract seasonally.
- Keep leftover stain and finish, labeled, for future touch-ups — an exact match years later is much easier with the original can in hand.
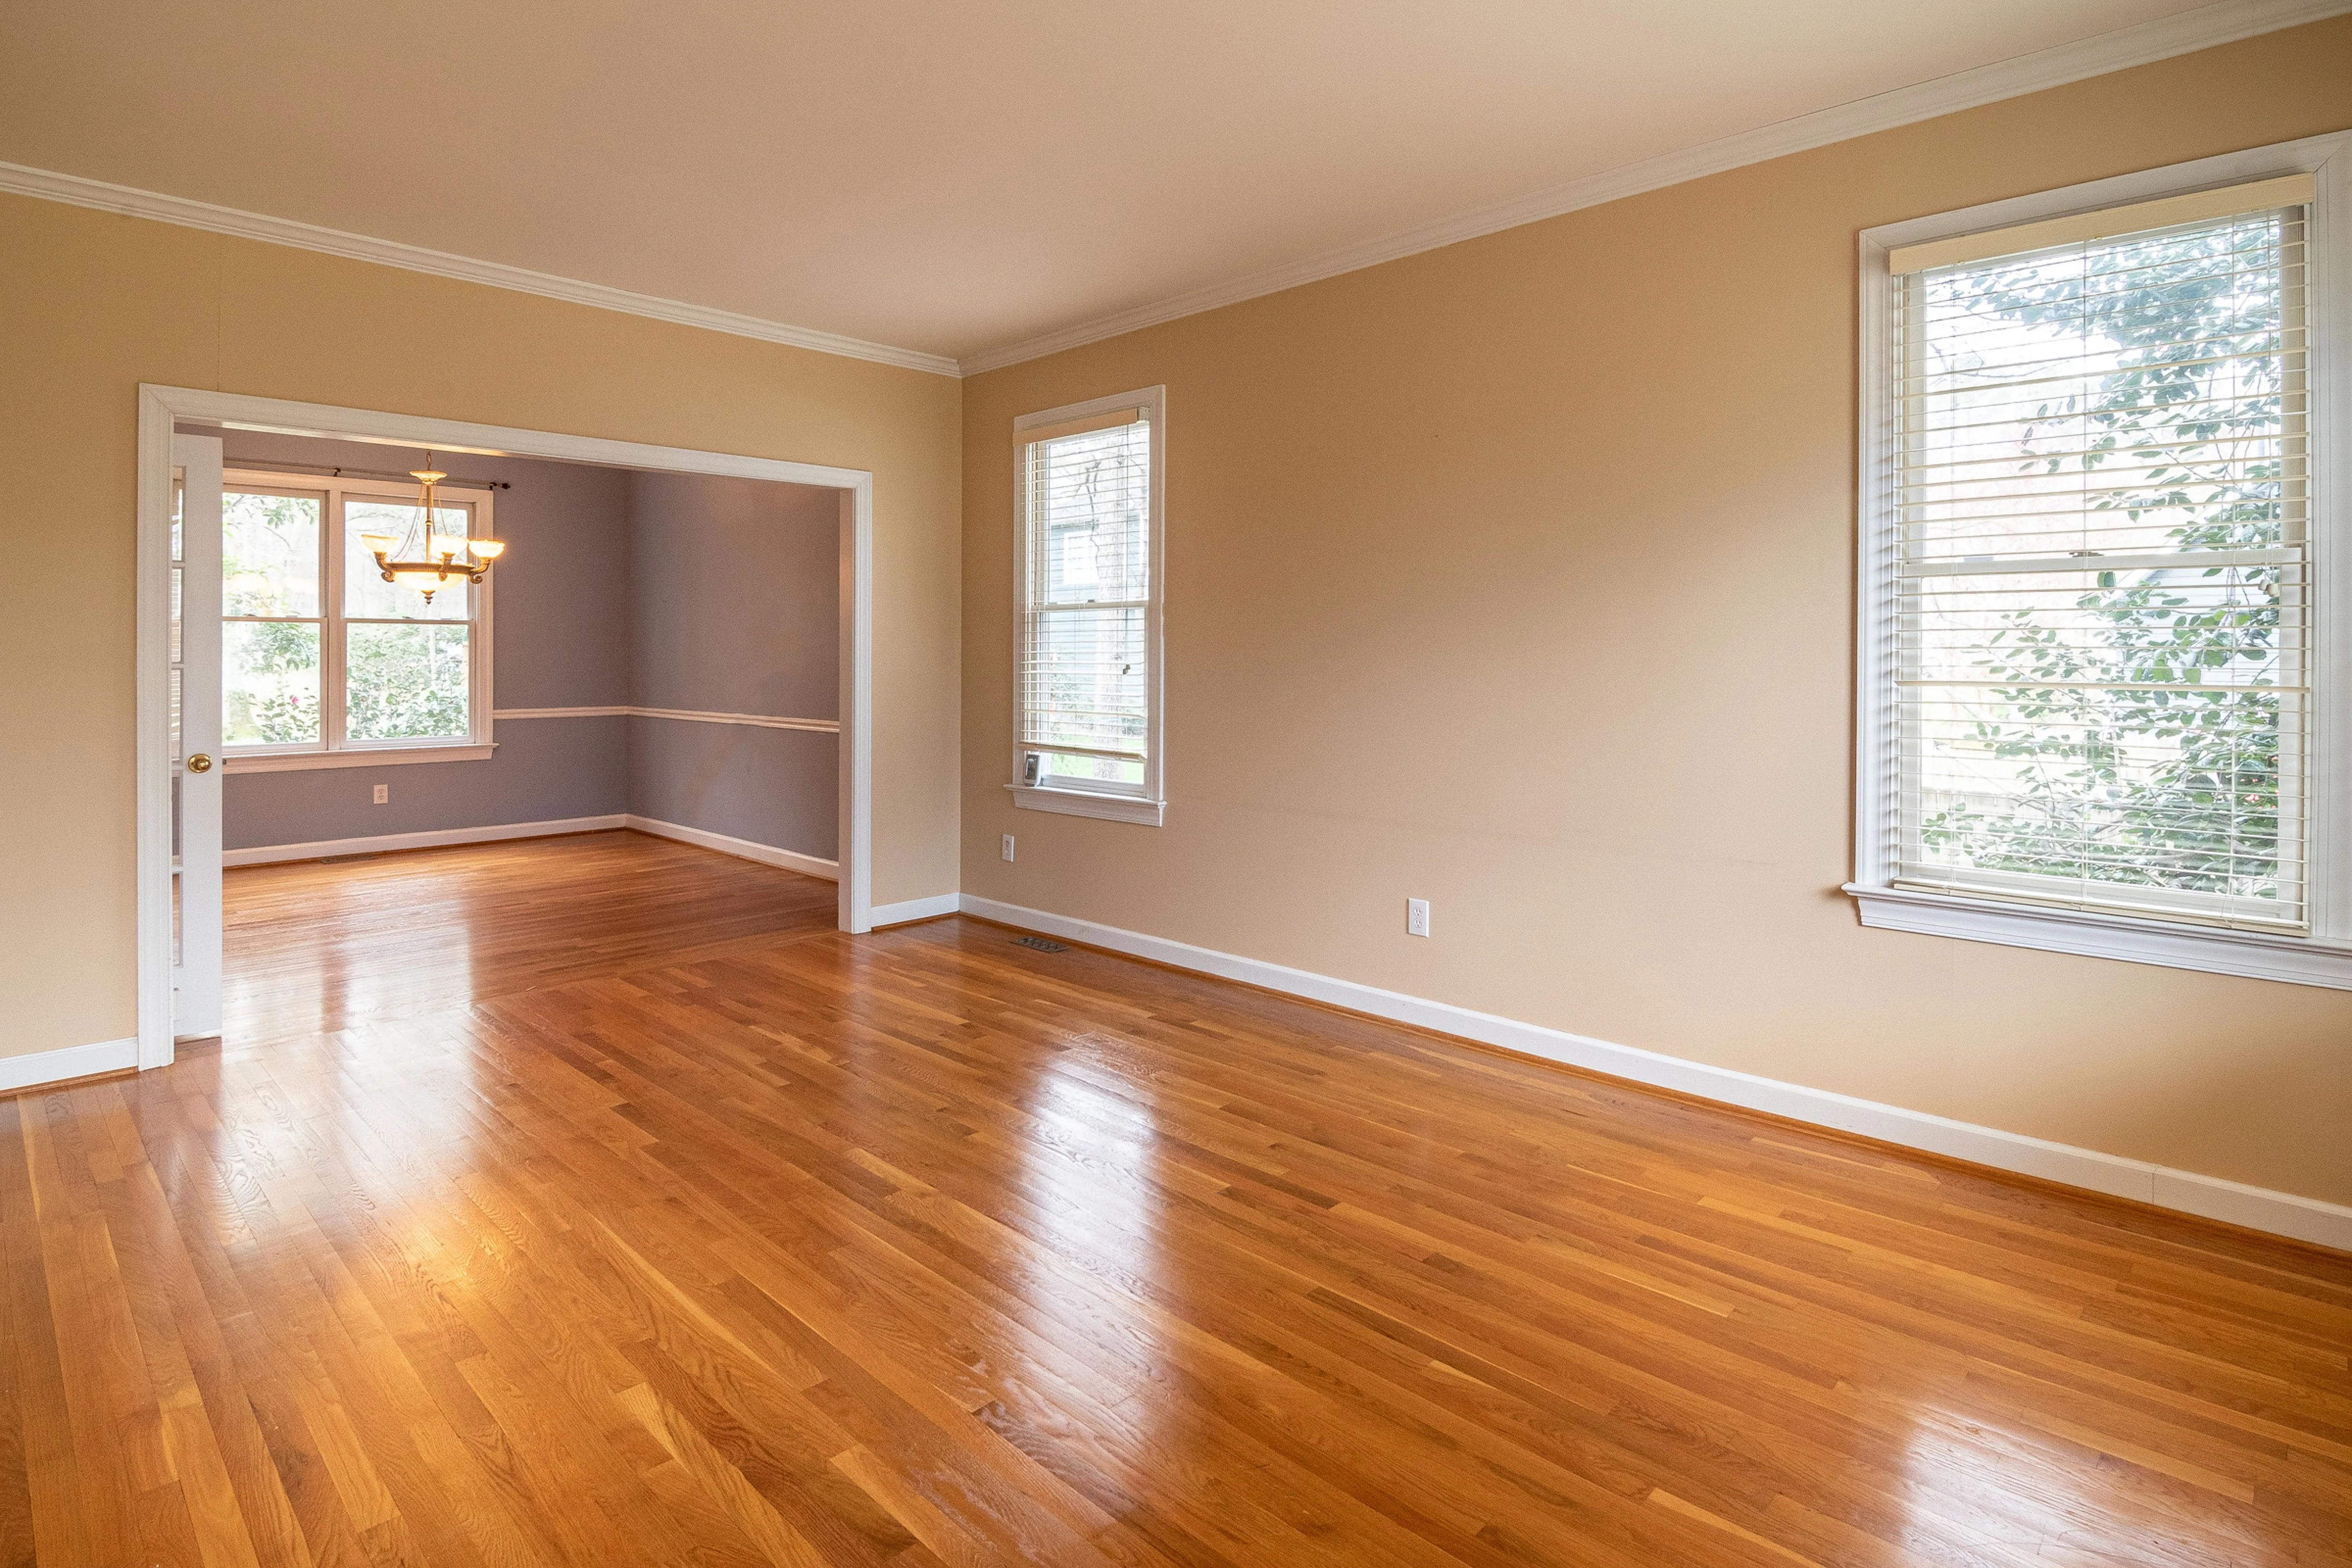
Done carefully, a full sand-and-refinish should last 10–15 years before it needs doing again, longer if you stick to felt pads and routine cleaning rather than harsh chemical cleaners. It's a genuinely demanding project — but it's also one of the few where the "before" and "after" photos alone justify the sore knees.