Anyone can put paint on a wall. The difference between an amateur job and one that looks like a pro painted it comes down to three things: prep, tools, and technique — in that order. Skip the prep and you'll see every flaw the new color exposes; use a cheap roller and you'll fight lap marks all afternoon. If you want to paint a room like a pro, the good news is the actual skill gap is small. It's the discipline that's hard.
Budget a full weekend for an average 12x12 bedroom: half a day of prep, a day of painting two coats, and time in between for drying. Skill level is beginner-friendly, but the finish quality scales directly with how much time you put into taping, patching, and cutting in carefully.
Materials, Tools, and Cost
A gallon of interior paint covers roughly 350–400 sq ft, and a standard room needs two coats. A typical 12x12 bedroom (about 400 sq ft of wall after deducting doors and windows) needs around 1.5–2 gallons for the walls. Budget paint runs $20–30/gallon, mid-range $35–50, premium $55–85. Most DIYers land around $150–250 in paint for a standard room, with total project cost — paint plus supplies — averaging around $400, roughly half to a third of what a professional crew charges for the same room.
Shopping list:
- Interior paint (satin or eggshell for walls, semi-gloss for trim — flat shows every flaw but hides existing wall imperfections best)
- Primer (skip only if you're painting a similar color over sound existing paint)
- Painter's tape (the blue "delicate surface" kind pulls cleaner off fresh trim)
- 9" roller frame + ⅜"–½" nap covers (nap thickness matched to wall texture — smoother wall, shorter nap)
- 2.5" angled sash brush for cutting in
- Roller tray + liners, extension pole, drop cloths (canvas, not plastic — plastic slides underfoot)
- Spackle, putty knife, 120-grit sanding sponge for patching nail holes and dings
- Trisodium phosphate (TSP) substitute or a mild degreaser for cleaning walls before painting
Prep: Where the Pro Finish Actually Comes From
- Clear and cover the room. Move furniture to the center and cover it, or clear it out entirely. Lay drop cloths over the whole floor, not just the edges — rollers fling more paint than you expect.
- Patch every hole and ding. Fill with spackle, let it dry per the label (usually a few hours), then sand flush with a fine sponge. A wall with visible patches under new paint reads as unfinished even in a perfect color.
- Clean the walls. Dust and cooking-grease film keep paint from bonding evenly, especially in kitchens and hallways near the kitchen. A quick wipe with a degreaser solution and a rinse pass is enough.
- Tape trim, ceiling lines, and outlets. Press the tape edge down firmly with a putty knife so paint can't bleed underneath — this single step is what separates a crisp line from a fuzzy one.
- Prime if needed. Bare patched drywall, stark color changes, or stains (water marks, marker, smoke) all need a coat of stain-blocking primer, or the old color or stain will ghost through the new paint.
Painting: Cut In First, Then Roll
- Cut in the edges with the angled brush before you touch the roller — a 2–3 inch band along the ceiling line, trim, and corners. Load the brush lightly and drag it in one smooth motion; overworking wet paint creates brush marks.
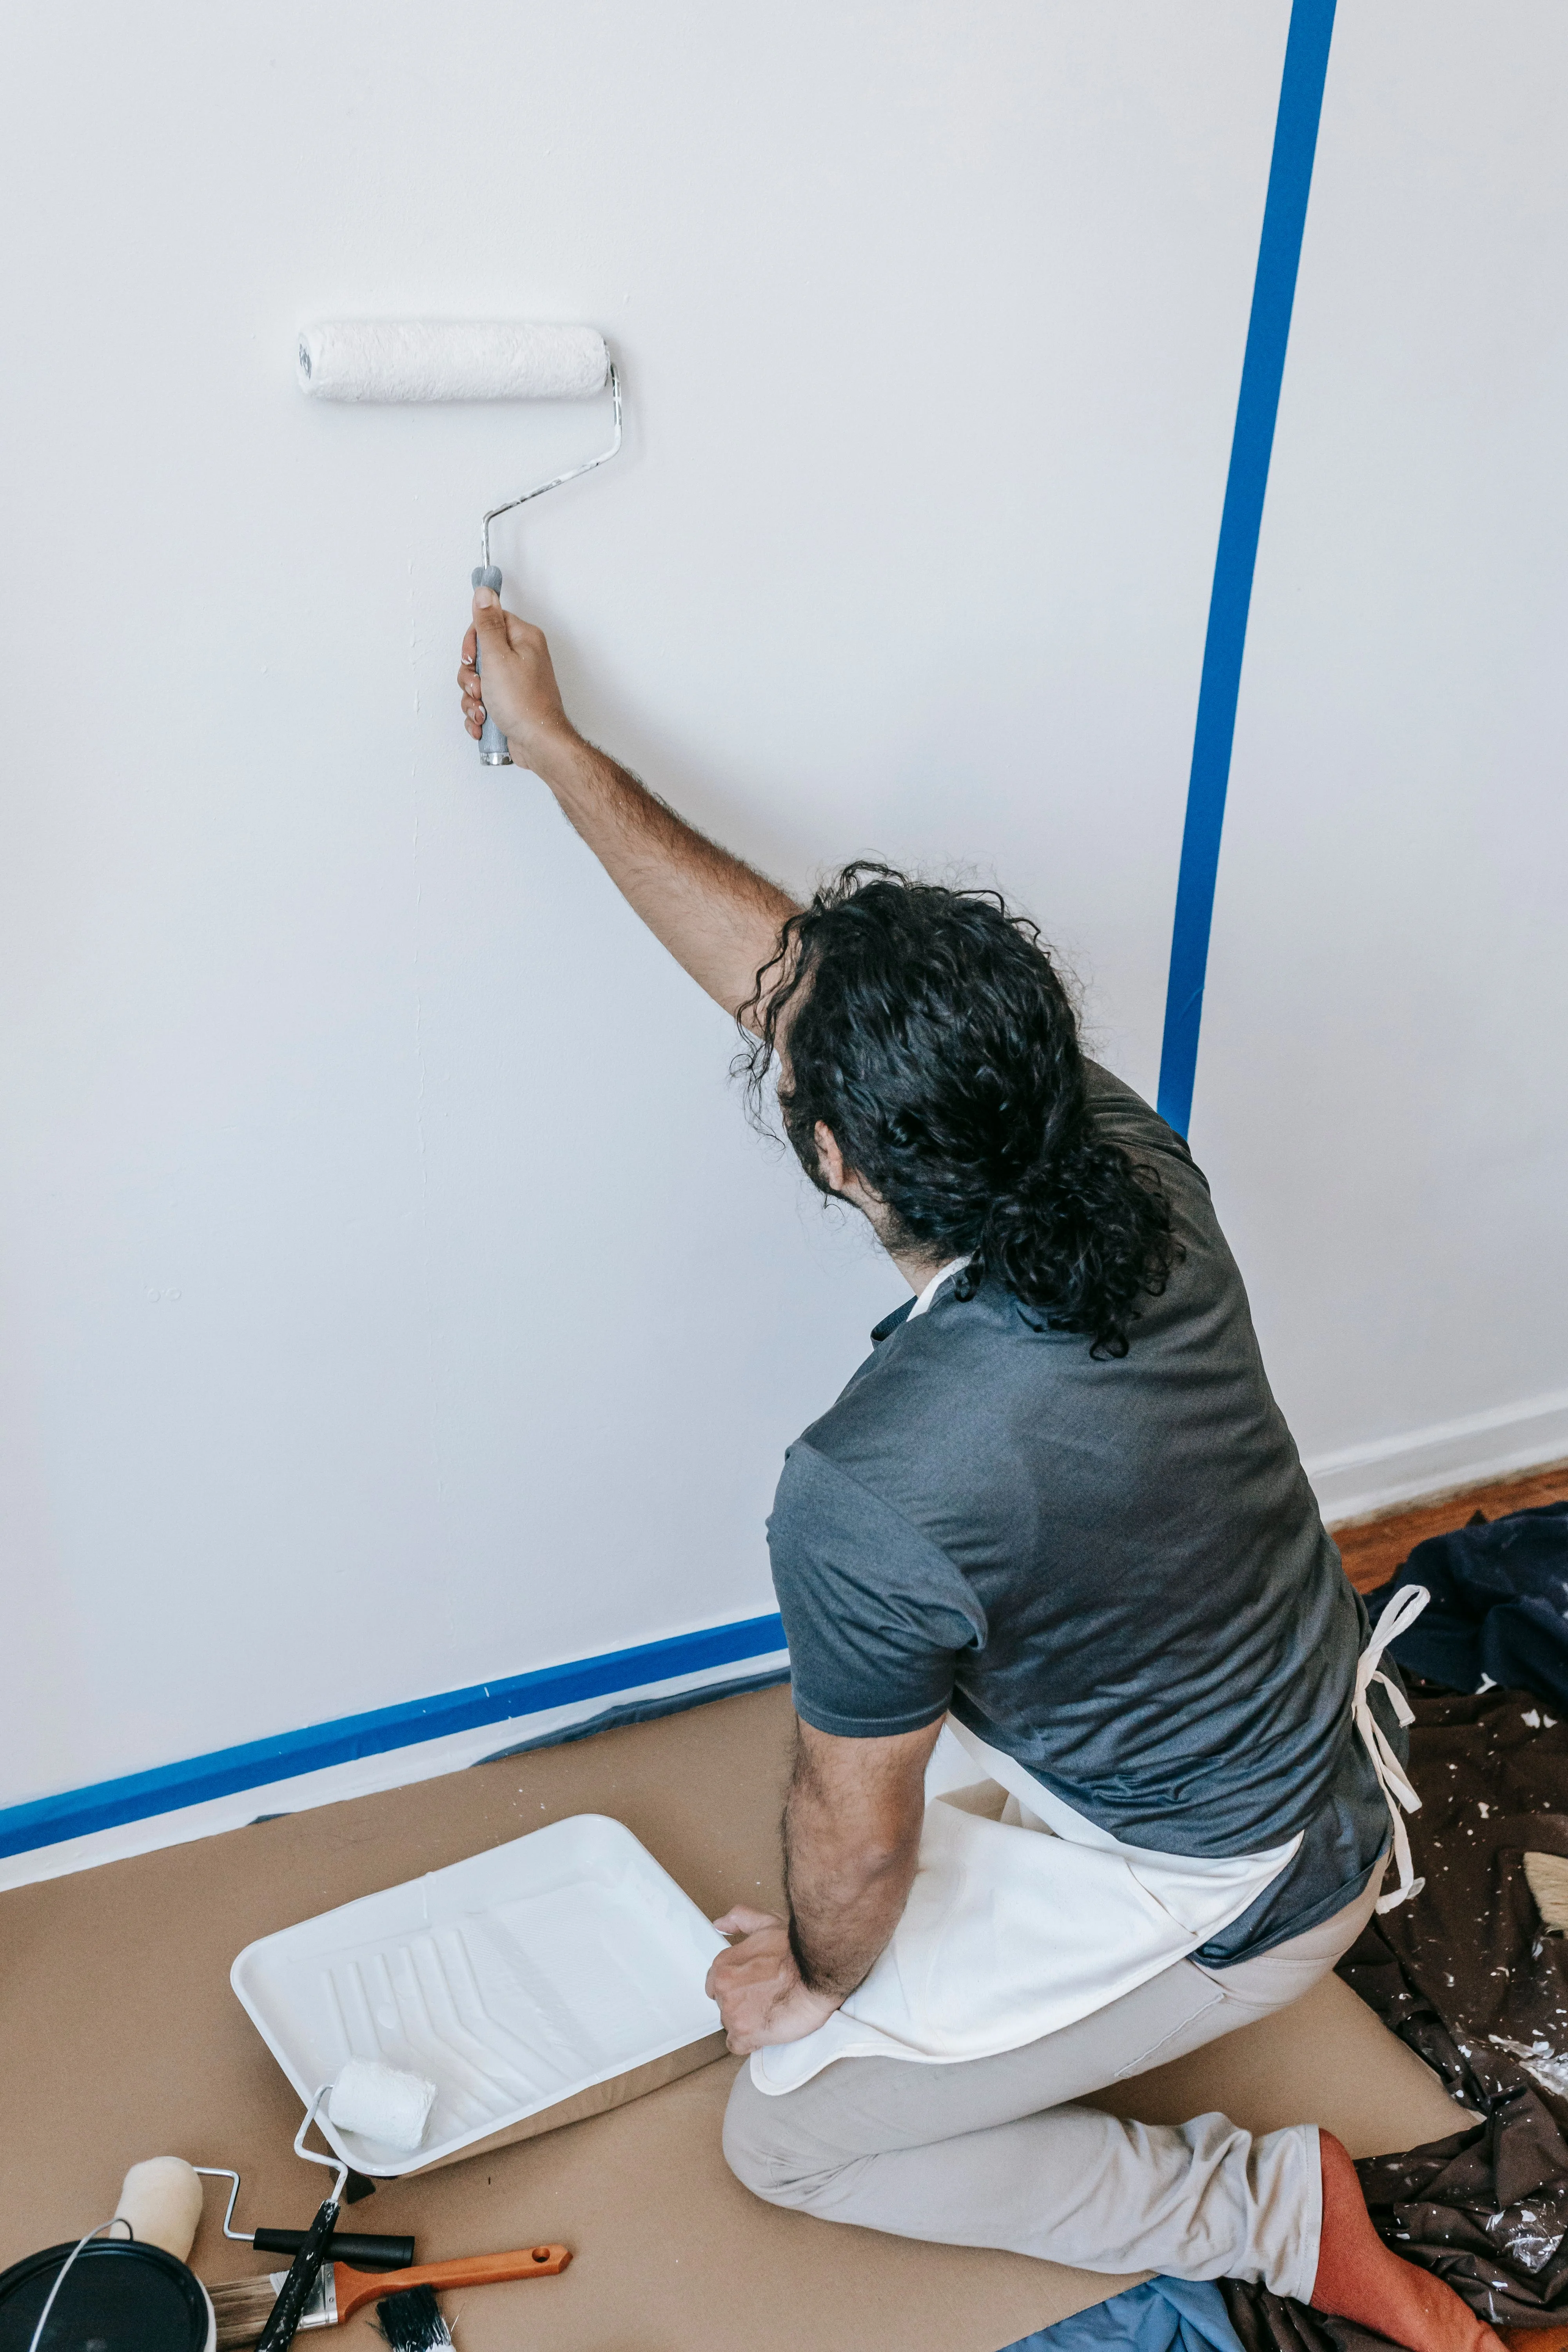
- Roll in a "W" or "N" pattern on a roughly 4x4-foot section, then fill in without lifting the roller, so the paint self-levels instead of showing roller lines.
- Keep a wet edge. Always roll into the still-wet section next to the one you just finished — this is what prevents lap marks (the faint stripes you see where dried paint overlaps fresh paint at an angle).
- Work top to bottom, ceiling-adjacent section first, moving down and across the wall systematically rather than jumping around the room.
- Recoat on the label's timeline — usually 2–4 hours for latex paint. Second coat gets the same cut-in-then-roll order; this is the coat that evens out any thin spots from coat one.
- Pull tape while the final coat is still slightly tacky, at roughly a 45-degree angle away from the painted surface. Waiting until paint is bone dry risks peeling a chip off the fresh edge.
Finishing Touches
- Check under raking light (a lamp held low and angled across the wall) once dry — this reveals roller stipple or missed spots that flat overhead light hides.
- Touch up nail holes and screw holes from rehanging art or fixtures with a small artist brush and leftover paint, dabbed rather than brushed to blend the texture.
- Label and store leftover paint with the room and date on the lid — future touch-ups need the exact match, and paint stores can requote a formula but it's rarely pixel-perfect years later.
- Clean brushes and rollers immediately after the last coat; latex paint that dries in roller nap ruins the cover for next time.
A room painted this way — properly prepped, taped, and rolled with a maintained wet edge — should look flawless in daylight and hold that finish for 7–10 years of normal wear. The material cost is modest and the tools are reusable, which is why painting remains the highest-return, lowest-risk renovation project in the house.