A backsplash is the highest-visibility square footage in most kitchens, and it's one of the few remodel jobs where a careful DIYer can match — or beat — contractor results. There's no plumbing to disturb, no structural risk, and the material footprint is small enough that mistakes are cheap to fix. But it's still a precision job: crooked lines, lippage (uneven tile edges), and sloppy grout lines are visible from across the room for as long as you own the house.
Budget a full weekend for a standard 30–35 sq ft backsplash: one day to prep and set tile, a day of cure time, then 2–3 hours to grout and seal. Skill level is intermediate — doable on a first attempt if you dry-lay everything first and don't rush the layout.
Materials, Tools, and Cost
Backsplash tile runs a wide range depending on material. Ceramic and subway tile are the cheapest at roughly $10–25 per sq ft installed value; glass and porcelain run $20–35; natural stone and marble run $30–50. Budget the full project, materials only, around $300–$700 for an average 30–35 sq ft kitchen, plus tools if you don't already own them. Thin-set mortar runs about $1–3 per sq ft and grout $0.50–3 per sq ft, so on a small backsplash the tile itself is almost always the biggest line item.
Shopping list:
- Tile (buy 10% extra for cuts and breakage)
- Thin-set mortar (or premixed mastic for small ceramic/glass jobs — check tile manufacturer specs, mastic isn't rated for all materials)
- Grout — sanded for joints ⅛" or wider, unsanded for anything narrower
- Grout sealer (skip this step and cement-based grout will stain within a year)
- Tile spacers matched to your joint width
- Notched trowel (size per tile manufacturer's spec, usually ¼" x ¼" for small tile)
- Tile cutter or wet saw (rent one for $30–50/day if it's a one-time job)
- Level, painter's tape, caulk gun, grout float, sponges, 5-gallon bucket
- Silicone caulk in a grout-matching color for the counter and cabinet edges
Prep: The Step Everyone Skips
Most backsplash failures trace back to prep, not tiling technique.
- Shut off power to any outlets in the work zone at the breaker, then remove outlet and switch covers. Extend the electrical boxes with box extenders once tile thickness is added — this is required by code in most jurisdictions and prevents a fire-code violation from an outlet sitting too deep.
- Clean the wall with a degreaser — kitchen walls carry a thin film of cooking grease even if they look clean, and mortar won't bond to it.
- Protect the counter with rosin paper or a drop cloth taped down at the edges; dropped tile chips a stone countertop instantly.
- Find your reference line. Measure up from the counter and mark a level horizontal line roughly one row height above the counter — don't trust the counter itself as level, use an actual level. This line is your anchor for every row above it.
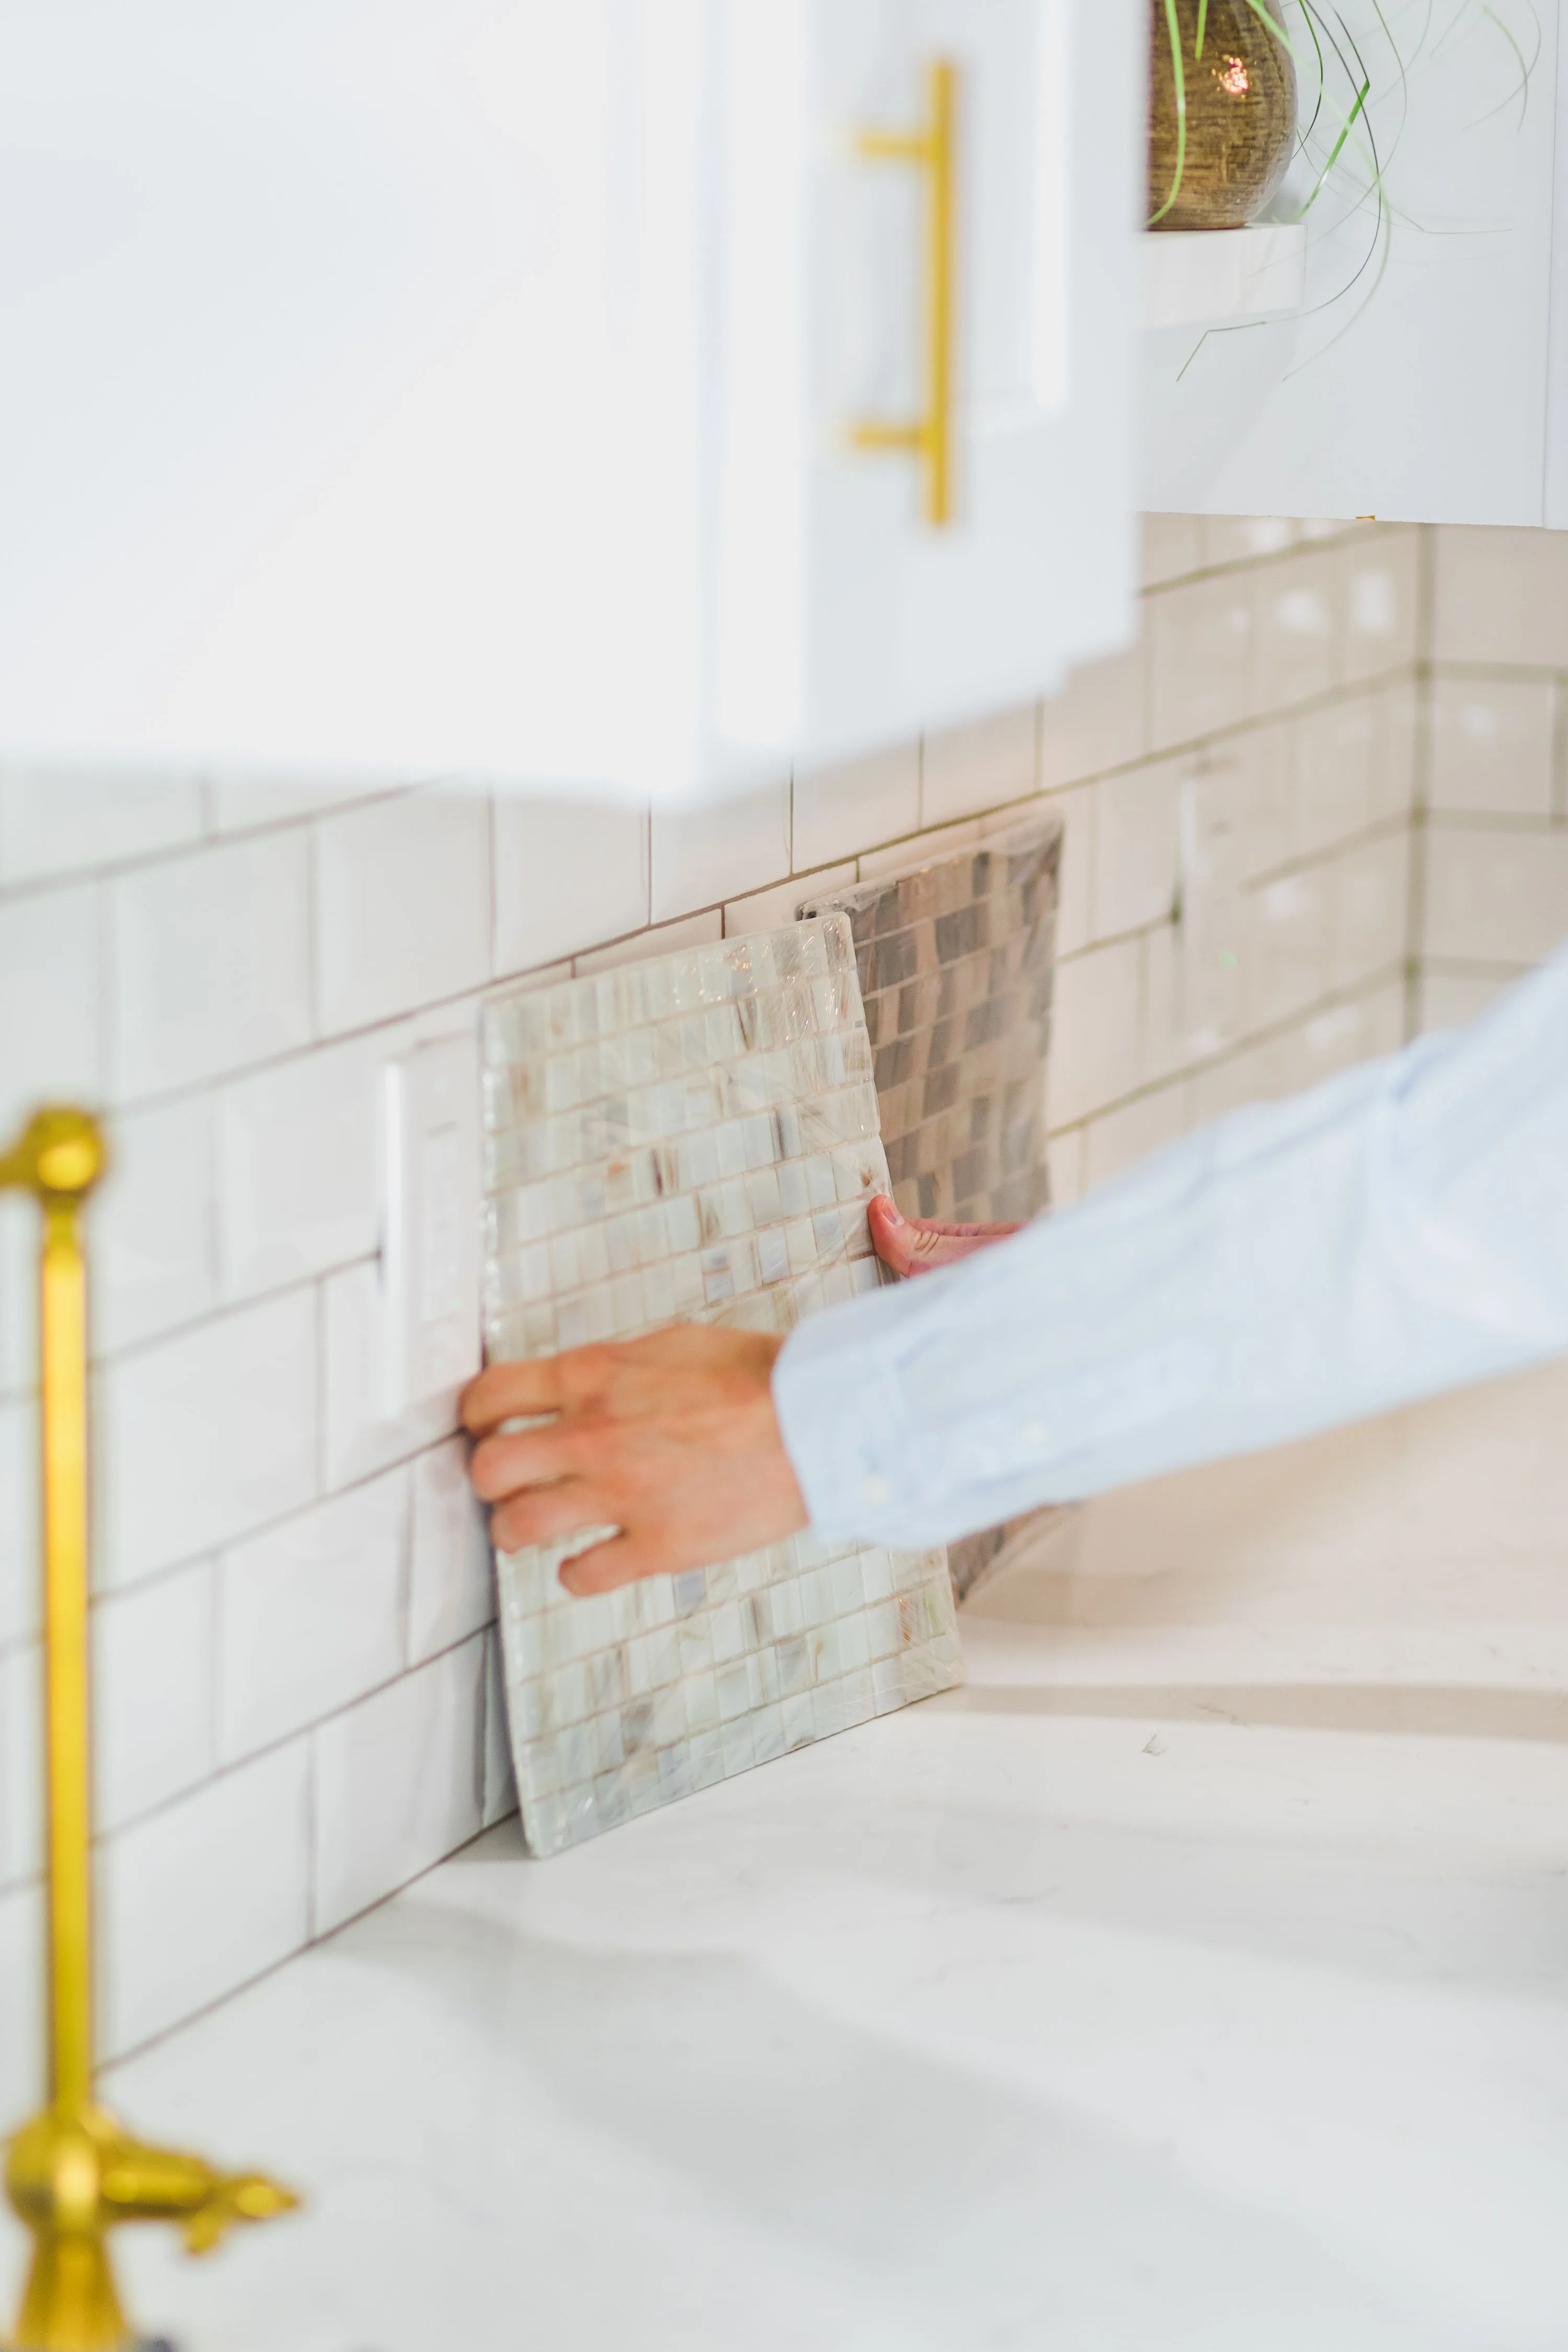
- Dry-lay the pattern on the counter or floor first. This is where you catch an ugly sliver of tile at an outlet or wall corner before it's permanent. Shift the layout so cut pieces land in the least visible spots — behind the stove hood, not next to the sink.
Setting the Tile
- Mix thin-set to a peanut-butter consistency (or use mastic for lightweight ceramic/glass on a small job — faster, no mixing, but weaker bond and not for use around a range's heat zone).
- Spread mortar with the flat side of the trowel, then comb it with the notched edge held at a consistent angle — this creates uniform ridges that collapse evenly when tile is pressed in, avoiding hollow spots.
- Work in sections of 3–4 sq ft at a time so the mortar doesn't skin over before tile goes on.
- Set tile with a slight twisting press, working off your level reference line. Insert spacers at every joint immediately.
- Check for lippage every few tiles by running a finger across adjoining edges — back-butter or tap down any tile sitting proud of its neighbor.
- Cut tile for outlets, corners, and the ceiling/upper-cabinet line with a wet saw for straight cuts; use a rotary tool or tile nippers for notches around outlet boxes.
- Let mortar cure per the bag's instructions — typically 24 hours — before grouting. Don't skip this even though the tile feels solid the same day; walking or working the surface early can shift tiles out of plane.
Grouting and Finishing Touches
- Remove spacers and mix grout to the consistency of thick frosting — pourable but not soupy.
- Apply with a rubber grout float held at roughly 45 degrees, forcing grout into joints on a diagonal pass so the float edge doesn't drag grout back out.
- Let it firm up for 15–20 minutes, then wipe diagonally with a barely damp sponge, rinsing frequently. Wipe too early and you'll pull grout out of the joints; wait too long and the haze is a nightmare to remove.
- Once haze forms (usually within an hour), buff it off with a dry microfiber cloth.
- Caulk — don't grout — the inside corners and the seam where tile meets the countertop. These are movement joints; rigid grout will crack there within a season.
- Seal cement-based grout after it fully cures, typically 48–72 hours, with a penetrating grout sealer. Epoxy grout skips this step entirely since it's non-porous.
- Reinstall outlet covers and switch plates last, once everything is dry.
Field tips that save headaches: buy all your tile from the same dye lot in one trip — reordering later rarely matches exactly. Keep the leftover box; it's the only reliable repair source if a tile ever cracks. And resist the urge to grout the same day you set tile — uncured mortar plus grout work is the single most common cause of tiles shifting out of line.
A backsplash done this way should outlast the rest of the kitchen's finishes. The material cost is modest, the tools are rentable, and the payoff — a crisp, professional-looking wall that photographs well and protects your walls from splatter — is one of the best returns on a weekend of work in the house.