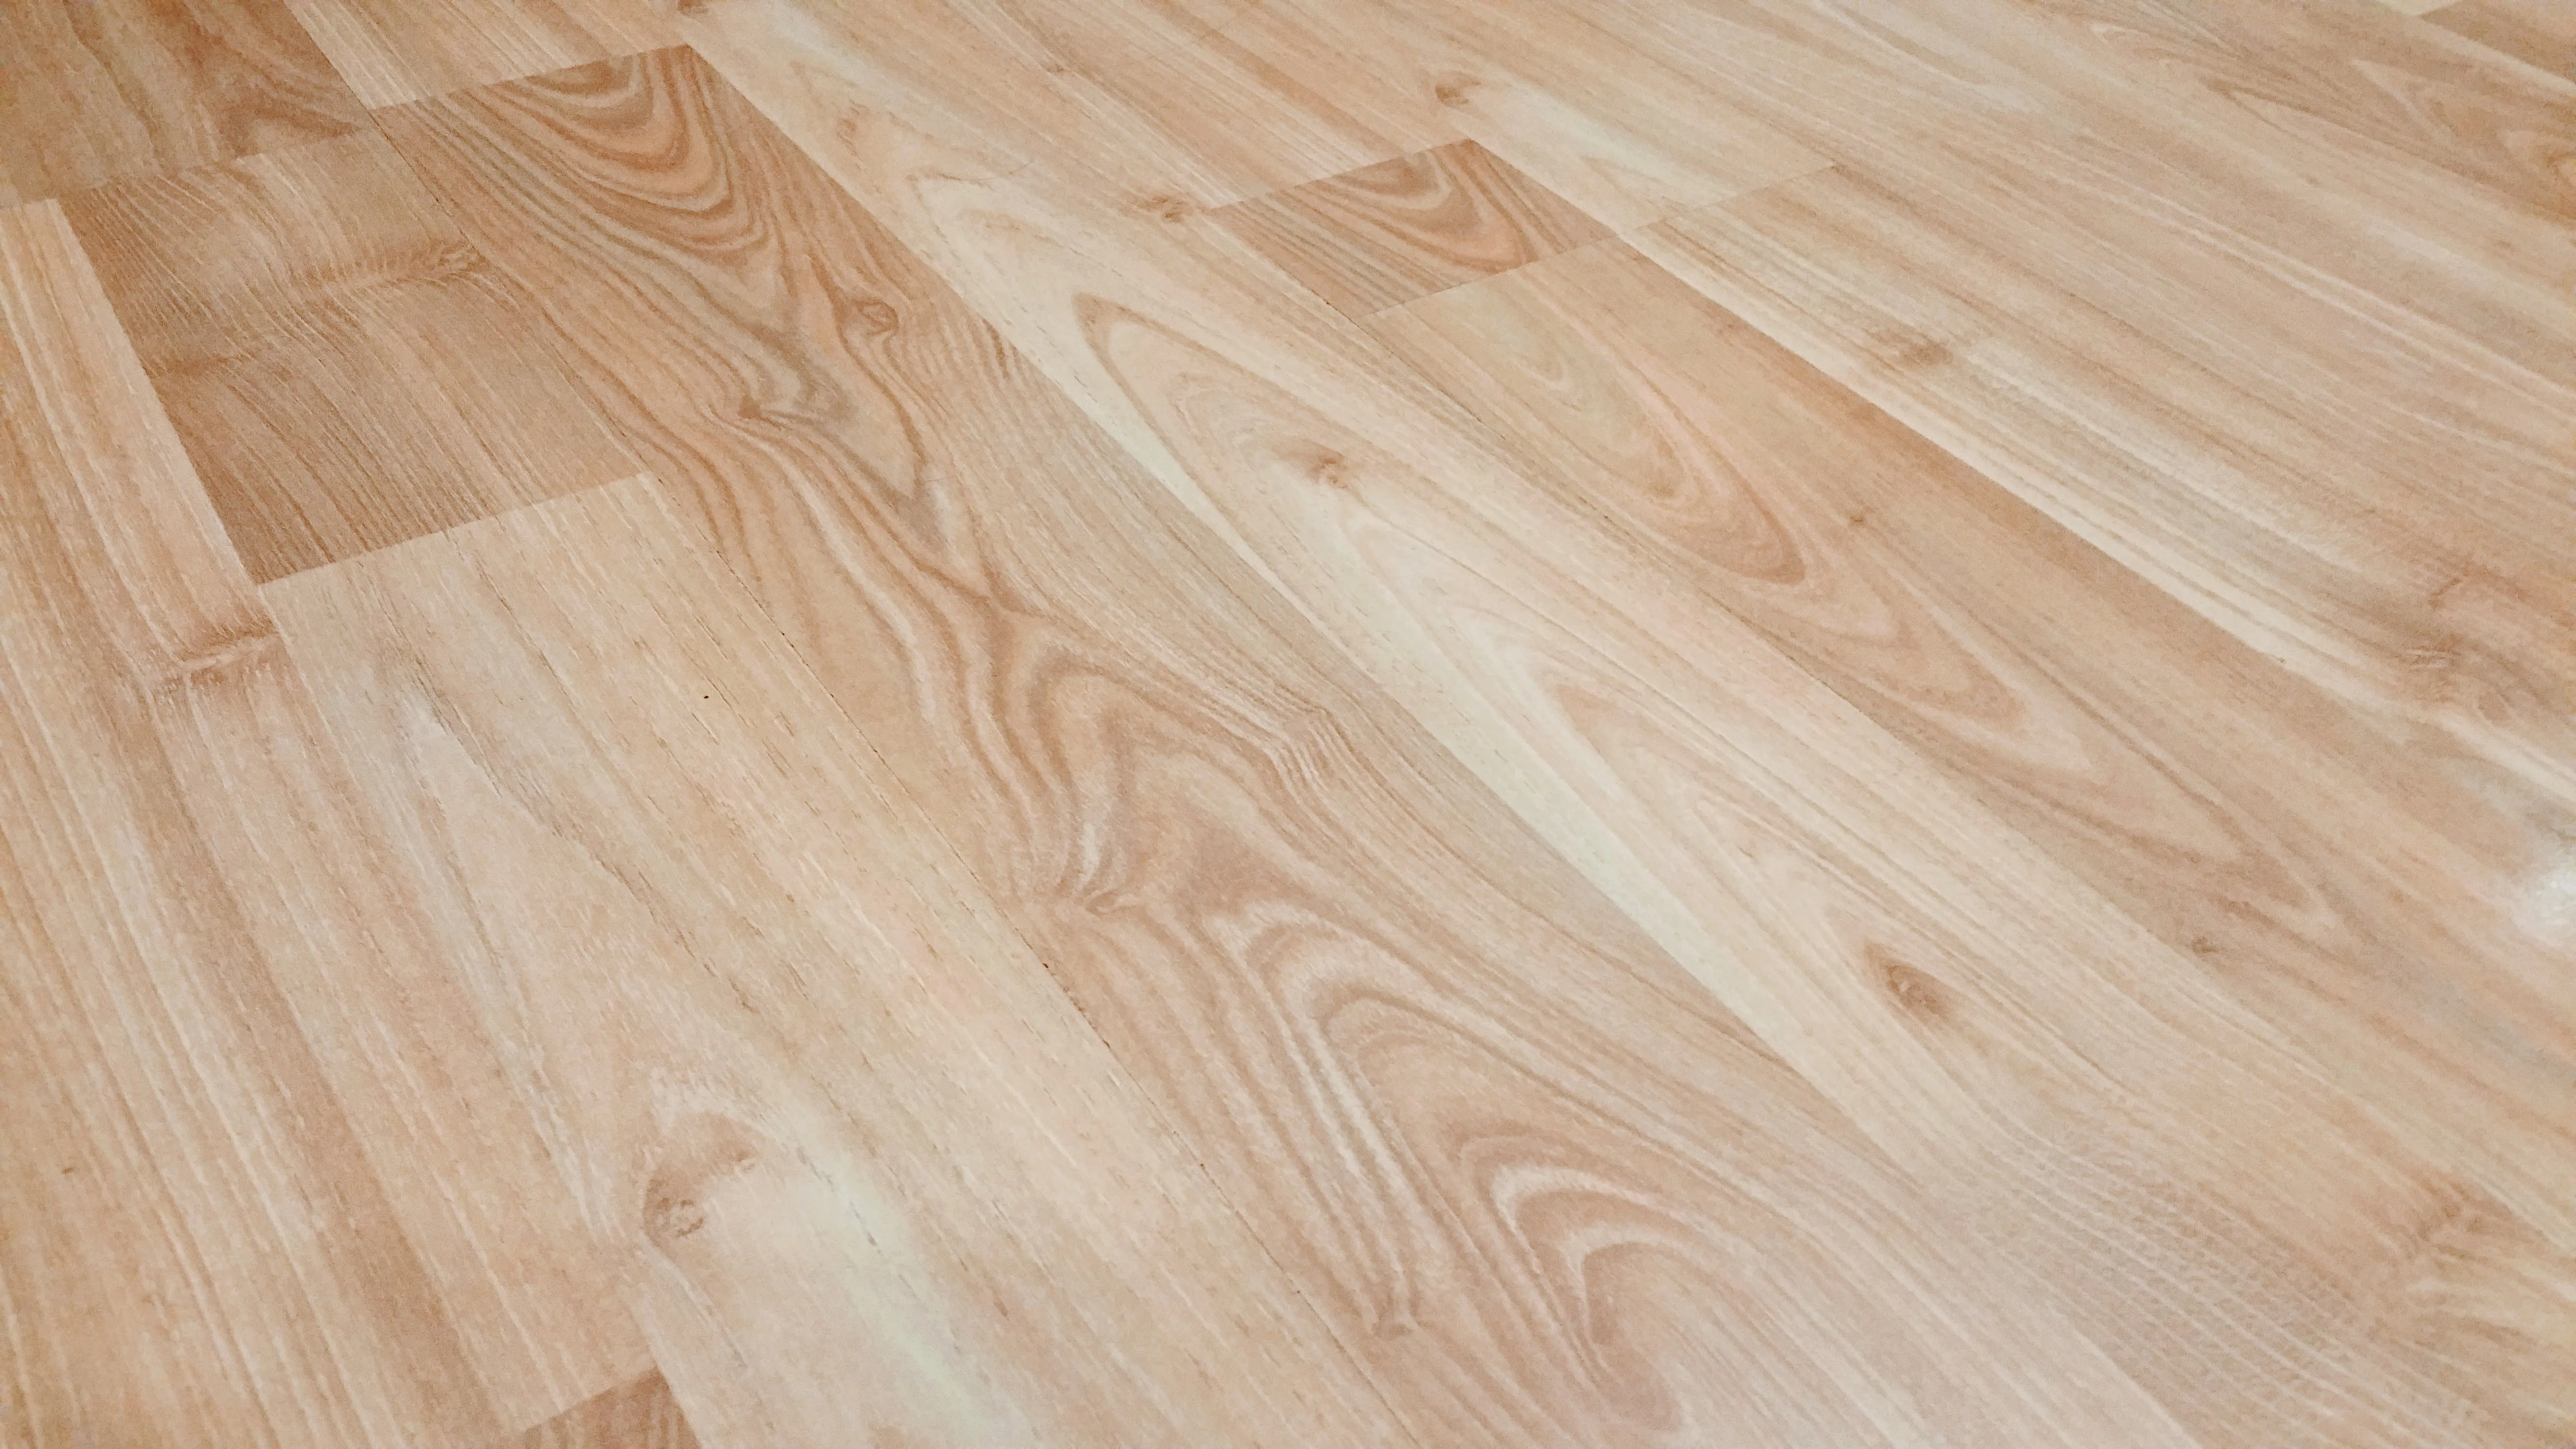
Vinyl plank flooring — usually called LVP (luxury vinyl plank) — is the most DIY-friendly flooring upgrade on the market, and it's why it's replaced laminate as the default choice for kitchens, bathrooms, and whole-house remodels. Click-lock planks float over the subfloor with no nails, no glue in most cases, and full water resistance, so a careful first-timer can install a room in a weekend and get results indistinguishable from a pro install.
Budget one full day for an average 200 sq ft room including acclimation time the night before; a confident DIYer can do 150–250 sq ft in a day once the layout is planned. Skill level is beginner-to-intermediate — the click mechanism is easy, the layout math is where people go wrong.
Materials, Tools, and Cost
Vinyl plank material runs $2–7 per sq ft for standard LVP and up to $10 for luxury lines; click-lock product specifically often runs $1.39–$5.99 per sq ft. Add underlayment and supplies at $0.30–$0.60 per sq ft (many planks already have attached pad, which skips this line item). DIY installed cost typically lands around $2.50–$4 per sq ft in materials alone, versus $4.50–$12 per sq ft once you add professional labor — the labor savings is the whole reason to DIY this one.
Shopping list:
- Vinyl plank flooring (buy 10% extra for cuts and waste, more like 15% for diagonal layouts or small rooms with lots of corners)
- Underlayment, if not pre-attached (foam ~$0.50/sq ft, cork up to $1/sq ft for extra sound dampening)
- Moisture barrier / vapor barrier sheeting if installing over concrete
- Transition strips for doorways and thresholds between rooms or flooring types
- ¼–½" spacers to hold the expansion gap at walls
- Utility knife or a vinyl plank cutter, jigsaw for notches
- Rubber mallet, tapping block, pull bar for tight edges
- Straightedge, tape measure, chalk line
Prep: Subfloor and Acclimation
- Acclimate the planks. Let boxes sit unopened in the room for 48 hours at normal living temperature — vinyl expands and contracts with temperature, and skipping this step is the #1 cause of gaps or buckling weeks after install.
- Remove old flooring and baseboards (or plan to install quarter-round over the new floor's edge if you're leaving baseboards in place).
- Check the subfloor for flatness. Click-lock vinyl needs a subfloor flat within ⅜" over 10 feet — sand down high spots and use a floor-leveling compound on low spots or dips, or the click joints will pop apart under foot traffic.
- Clean thoroughly. Any grit or debris under the floating floor telegraphs through as a bump and can stress the click joints over time.
- Roll out a moisture/vapor barrier if installing over a concrete slab, especially in a basement — concrete wicks moisture even when it looks and feels dry.
Installing the Planks
- Plan your layout first. Measure the room width and divide by plank width — if the last row would be narrower than 2 inches, rip the first row narrower so both end rows are a balanced width. Snap a chalk line for your starting row.
- Start in the corner with the tongue side facing the wall, spacers set at ¼–½" on all wall-facing edges for expansion room.
- Click the short ends of the first row together, working left to right, then start row two staggered so end joints don't line up with the row above — stagger by at least 6 inches for a natural look and stronger joint pattern.
- Angle each new plank into the previous row's long edge, then lower it flat and it clicks in; use a tapping block and rubber mallet on the short end to seat it fully without damaging the edge.
- Cut planks for the row ends with a utility knife (score and snap) or a plank cutter — mark from the actual gap, not the plank you removed the spacer from, since walls are rarely perfectly straight.
- Notch around door casings, vents, and pipes with a jigsaw; for door casings, undercut the casing itself with a flush-cut saw so the plank slides underneath instead of being notched around it — this looks dramatically more finished.
- Keep the expansion gap consistent on every wall the whole way around the room, including at transitions to other rooms — this gap is what lets the floor expand safely with humidity and temperature swings.
Finishing Touches
- Reinstall baseboards or add quarter-round to cover the expansion gap — never caulk or nail through the floating floor itself, which locks it down and defeats the point of floating installation.
- Install transition strips at every doorway or change in flooring — these bridge height differences and cover the expansion gap between rooms.
- Wait on heavy furniture for a day after finishing so the floor settles fully before loading it.
- Use felt pads under furniture legs and avoid dragging heavy items — vinyl resists water well but is softer than hardwood and can dent or scratch under sustained point pressure.
Done this way, a floating click-lock vinyl floor should perform for 15–25 years depending on wear layer thickness, and it's fully waterproof, which makes it a smart upgrade for kitchens, entries, and bathrooms where hardwood and laminate both struggle. The layout planning takes longer than the install itself — get that right and the rest is genuinely satisfying, fast work.