A tile shower surround is the most technically demanding tiling project in the house, because unlike a backsplash, a mistake here doesn't just look bad — it rots the wall behind it. The tile itself isn't waterproof, and neither is standard cement backer board on its own; both are only as good as the waterproofing membrane underneath them. Get that layer right and the tile job is straightforward. Skip it or do it halfway, and you're looking at mold and framing damage discovered months later, usually behind the tile you just paid for.
Budget a full weekend to a week for a standard shower surround: a day for demo and substrate prep, a day for waterproofing (plus cure time), a day to set tile, and a day to grout — spread over more calendar days than hands-on hours because of cure times between stages. Skill level is advanced — this is not a first tiling project, and the waterproofing step in particular rewards following the product instructions to the letter.
Materials, Tools, and Cost
Professional installs average around $2,700, ranging $1,800–$5,000+ depending on tile choice and prep needed. DIYing the labor drops your cost to materials only: cement board, membrane, thin-set, tile, and grout typically run $450–$750 total for a standard shower, with the waterproofing membrane itself running anywhere from $50 (liquid, roll-on) to $500 (foam board panel system) depending on which method you choose.
Shopping list:
- Cement backer board (½" for walls) — this is the substrate, not the waterproofing itself
- Waterproofing membrane — pick one method: liquid/paint-on (RedGard, Hydroban, $50–$150), sheet membrane (Schluter Kerdi, Laticrete Hydro Ban Sheet, $100–$300), or foam board panels that combine substrate and waterproofing in one product (Kerdi-Board, Wedi Board, $200–$500)
- Tile (buy 10–15% extra for cuts, more for a niche or accent pattern)
- Thin-set mortar (modified, rated for the tile and substrate combination — check the tile manufacturer's spec)
- Grout — sanded for joints ⅛" and wider, epoxy grout for a more waterproof, stain-resistant joint in a wet area
- Silicone caulk (100% silicone, not latex) for all inside corners and the tile-to-tub or tile-to-pan seam
- Corner drain pan or pre-sloped shower base if replacing the shower floor too
- Notched trowel, tile spacers, tile cutter/wet saw, level, utility knife, screws rated for backer board, seam tape and thin-set for sheet membrane seams
Prep and Waterproofing: The Step That Determines If This Lasts
- Demo down to the studs if replacing an old surround, checking framing for water damage or rot — address any soft or discolored studs before building anything new on top of them.
- Install cement backer board screwed into every stud, with a small gap at the floor (per the product spec, usually ⅛"–¼") to prevent wicking moisture from the pan, and tape all seams with the manufacturer's seam tape.
- Choose and apply your waterproofing method — this is the one step in the entire project not to improvise on:
- Liquid membrane: roll or trowel on 2 coats, covering the entire wall field, all seams, and every inside corner, per the can's coverage rate and dry time between coats.
- Sheet membrane: thin-set the sheet directly to the backer board, overlapping seams and corners with pre-formed corner pieces, pressing out air bubbles as you go.
- Foam board panels: these combine substrate and membrane — thin-set the panels directly to the studs and seal all seams and corners with the manufacturer's sealant and tape, skipping cement board entirely.
- Waterproof every penetration — shower valve, shower arm, niche/shelf if built in — with the same membrane system, since a gap around a single pipe penetration defeats the whole system.
- Let the membrane cure fully per the product's instructions before tiling — this varies by product from a few hours to 24+ hours, and rushing this step is a common cause of membrane failure under the tile.
Setting Tile and Grouting
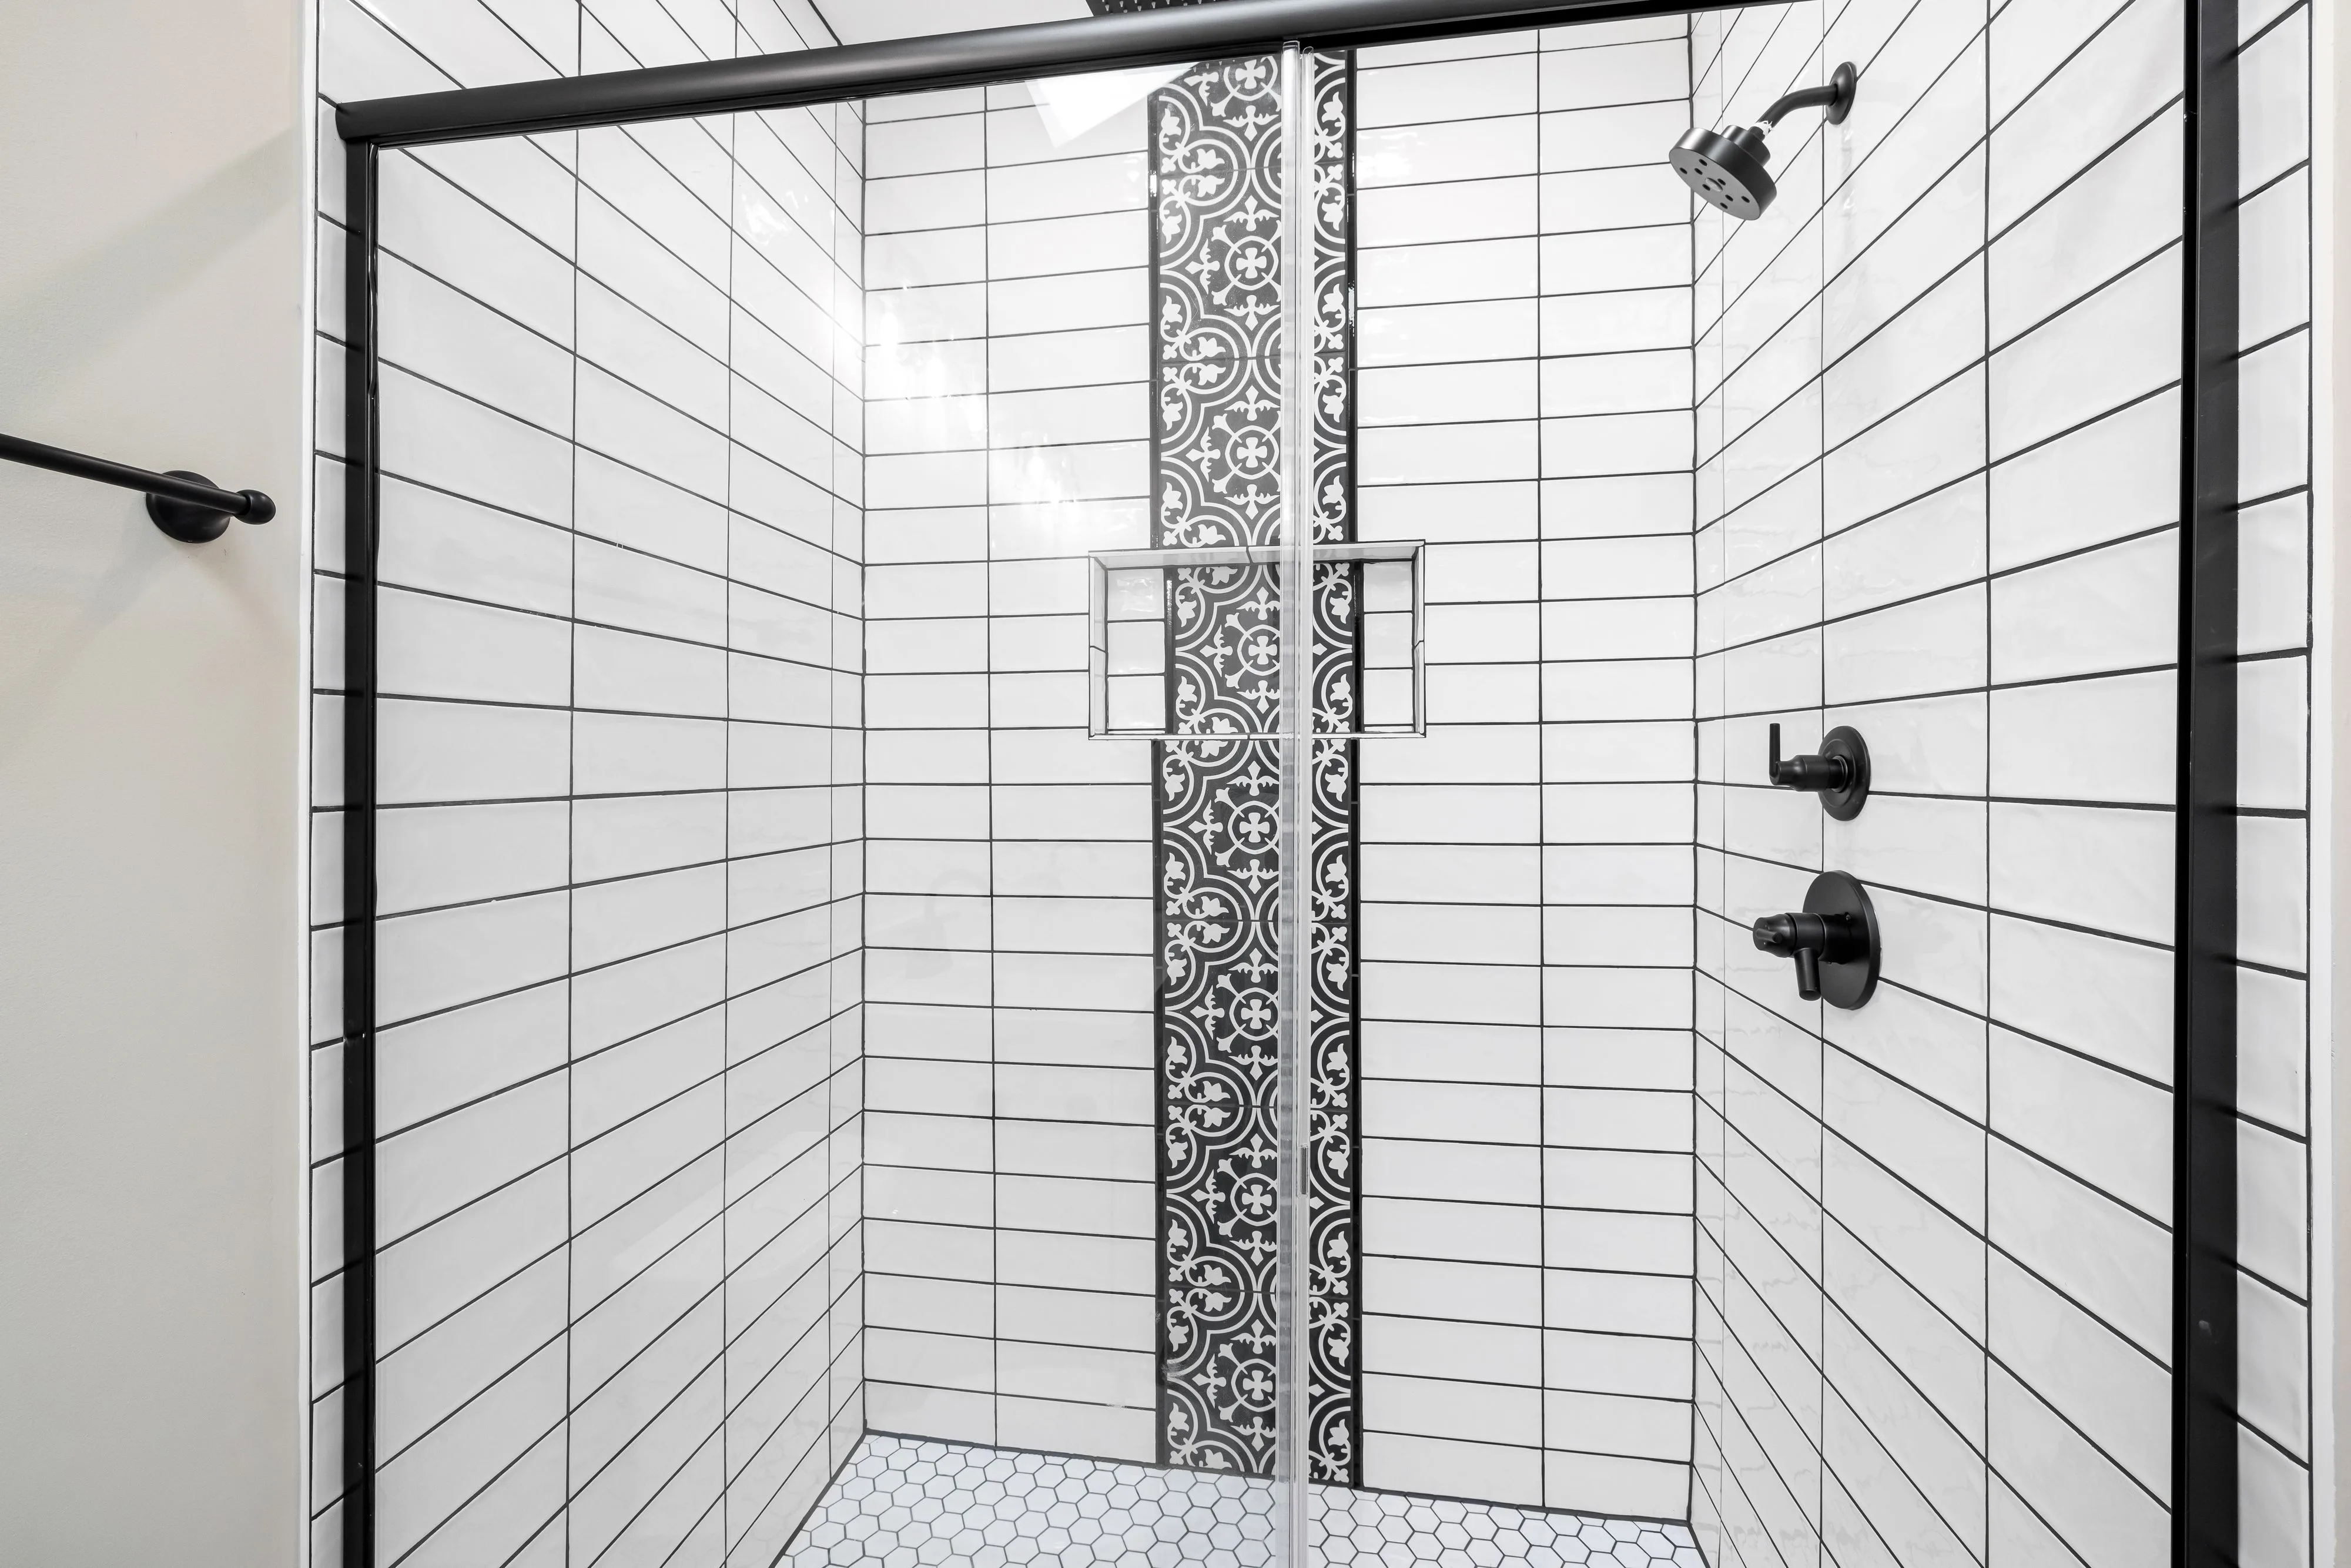
- Establish a level reference line partway up the wall (not from the shower pan, which may not be level) and work up and down from it, keeping horizontal grout lines consistent around the whole enclosure.
- Dry-lay the pattern on the floor first to plan cuts, especially around the niche, corners, and any accent band — shift the layout so small slivers land in the least visible spots.
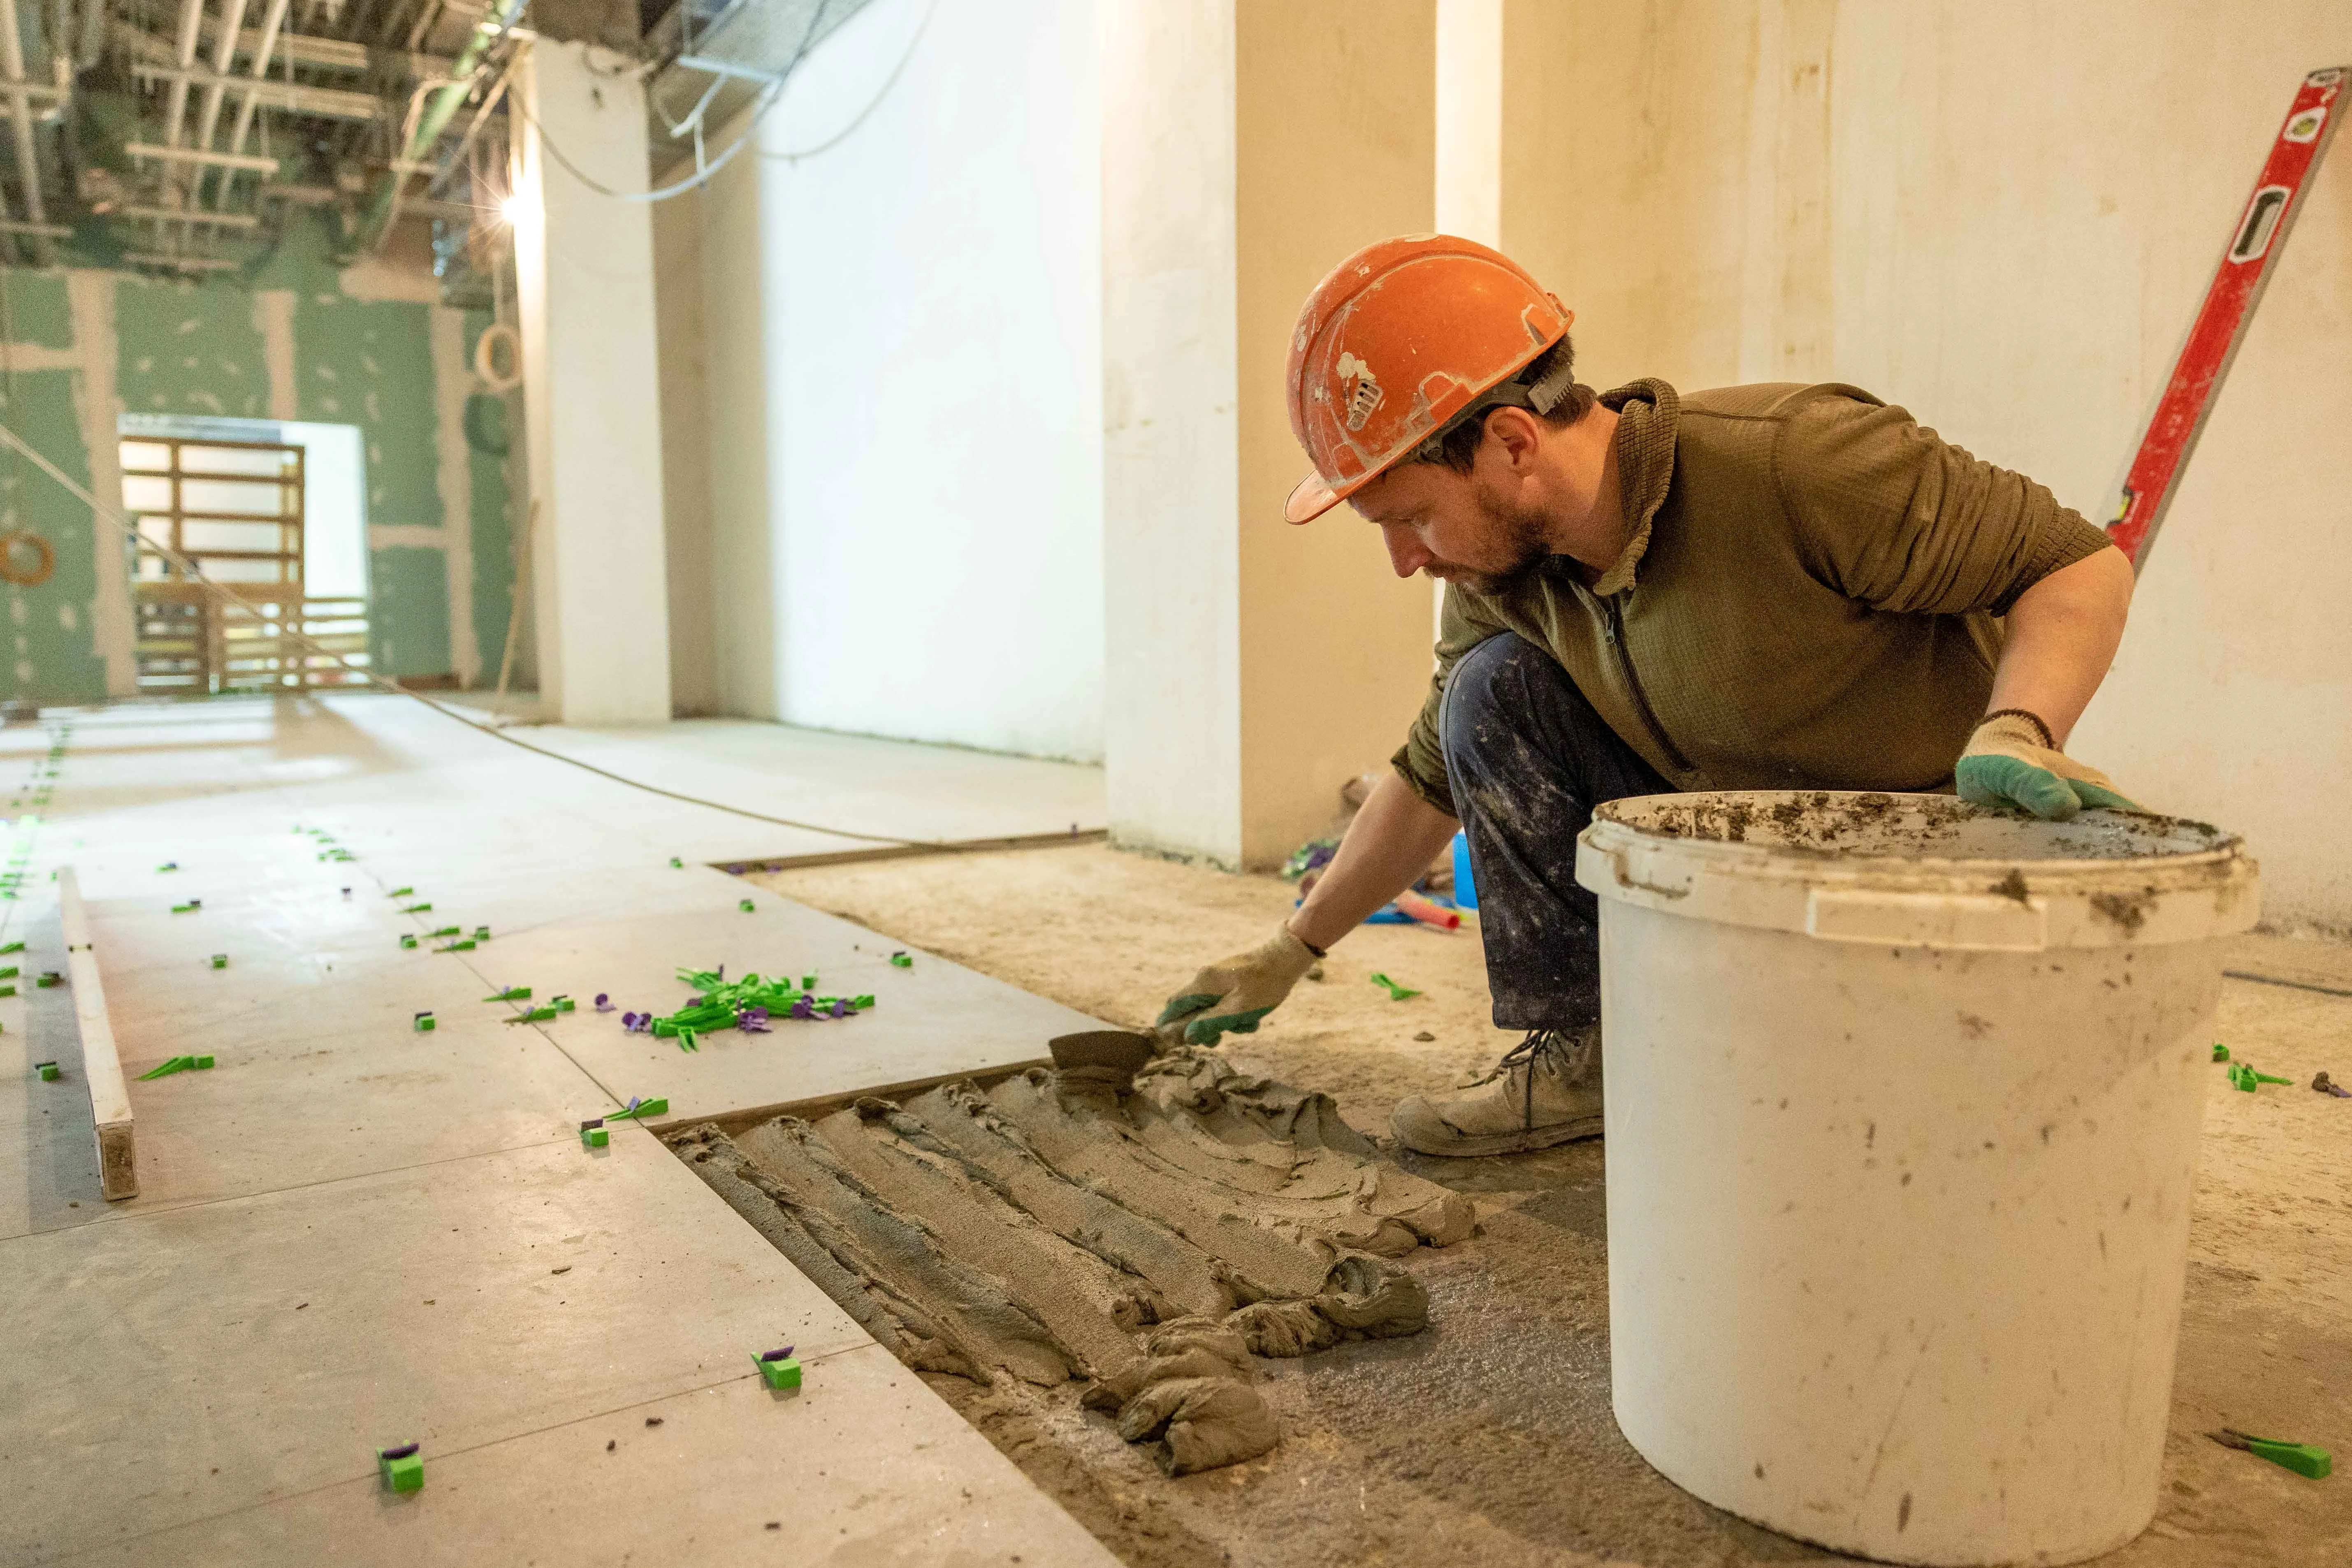
- Spread thin-set and set tile, working in small sections, checking for lippage (uneven edges) across every joint as you go and adjusting immediately, not after the mortar sets.
- Cut tile for the plumbing valve, shower arm, and niche with a wet saw and a hole saw or diamond bit for round penetrations — dry-fit every cut piece before mortaring it in place.
- Let thin-set cure fully (usually 24 hours) before grouting.
- Grout the field, floating grout diagonally across joints, then wipe with a barely damp sponge once it firms up, exactly as with any tile job — but in a shower, follow up with an epoxy grout or a quality penetrating sealer on cement-based grout, since this surface gets soaked daily.
- Caulk — never grout — every inside corner and the tile-to-pan seam, since these are movement joints; rigid grout in a corner will crack from normal building movement and let water behind the tile.
Finishing Touches
- Let grout cure fully (per label, often 48–72 hours) before the first real shower use, and seal cement-based grout once cured.
- Test for leaks by running the shower and checking the floor below and any accessible framing after the first several uses, especially around the pan seam.
- Re-caulk corners annually as routine maintenance — silicone caulk in a shower is a wear item, not a one-time install, and catching a failed caulk line early is far cheaper than finding out from a stain on the ceiling below.
- Keep leftover tile and grout in case of a future crack or chip — shower tile lines get discontinued, and matching later without a spare is often impossible.
Done with a proper waterproofing layer underneath, a tiled shower surround should last 20+ years with only routine caulk maintenance. This is the one renovation project on this list where cutting a corner doesn't just look worse — it costs real money to fix later, so if any part of the waterproofing step feels uncertain, that's the one part worth getting a second opinion on before you tile over it.