Replacing a worn-out, cracked, or non-functioning light switch is one of the most common electrical repairs a homeowner does themselves, and it should be — it's straightforward work with basic tools. But it's also the one repair on this site where skipping a safety step can genuinely hurt you. The process below is how I do it on my own jobs, in the order that keeps you safe.
Safety First: This Is Not Optional
Before you touch anything:
- Find the right breaker. Turn on the light the switch controls, then go to your panel and flip breakers one at a time until it goes dark. Label it while you're there if it isn't already — future you will thank you.
- Verify with a non-contact voltage tester. This is the step people skip and shouldn't. Breakers get mislabeled, panels get rewired over decades, and "the light went off" doesn't guarantee the switch box itself is dead — some switch loops route power differently than you'd expect. Remove the switch plate, and before you disconnect any wire, touch the tester to each terminal and to the wires in the box. It should read zero every time. If it doesn't, stop and find the correct breaker.
- Work with one hand when possible and don't stand on wet flooring while testing — basic precautions that matter more than they sound like they should.
If your panel has no obvious main switch label, if you find aluminum wiring (dull gray, not copper) in the box, or if there's no ground wire at all in an older home, that's a sign to bring in a licensed electrician rather than push forward — those situations have failure modes a standard swap doesn't cover.
Tools You'll Need
- Non-contact voltage tester
- Flathead and Phillips screwdrivers
- Wire strippers
- Needle-nose pliers
- Replacement switch (matched to single-pole or 3-way — see below)
- Wire nuts, if the old ones look brittle or undersized
Step 1: Identify Your Switch Type
Before you buy a replacement, look at how many wires connect to the switch and how many screw terminals it has.
- Single-pole switch: Two brass-colored terminal screws plus a green ground screw. Controls a light from one location only. This is the vast majority of switches in a home.
- 3-way switch: Three terminal screws plus ground — one darker "common" terminal and two brass "traveler" terminals. Used in pairs to control one light from two locations (top and bottom of a staircase, for example).
Buying the wrong type is the single most common mistake here — a 3-way switch has no "off" position wired the way a single-pole does, and swapping one in for the other won't work.
Step 2: Remove the Old Switch
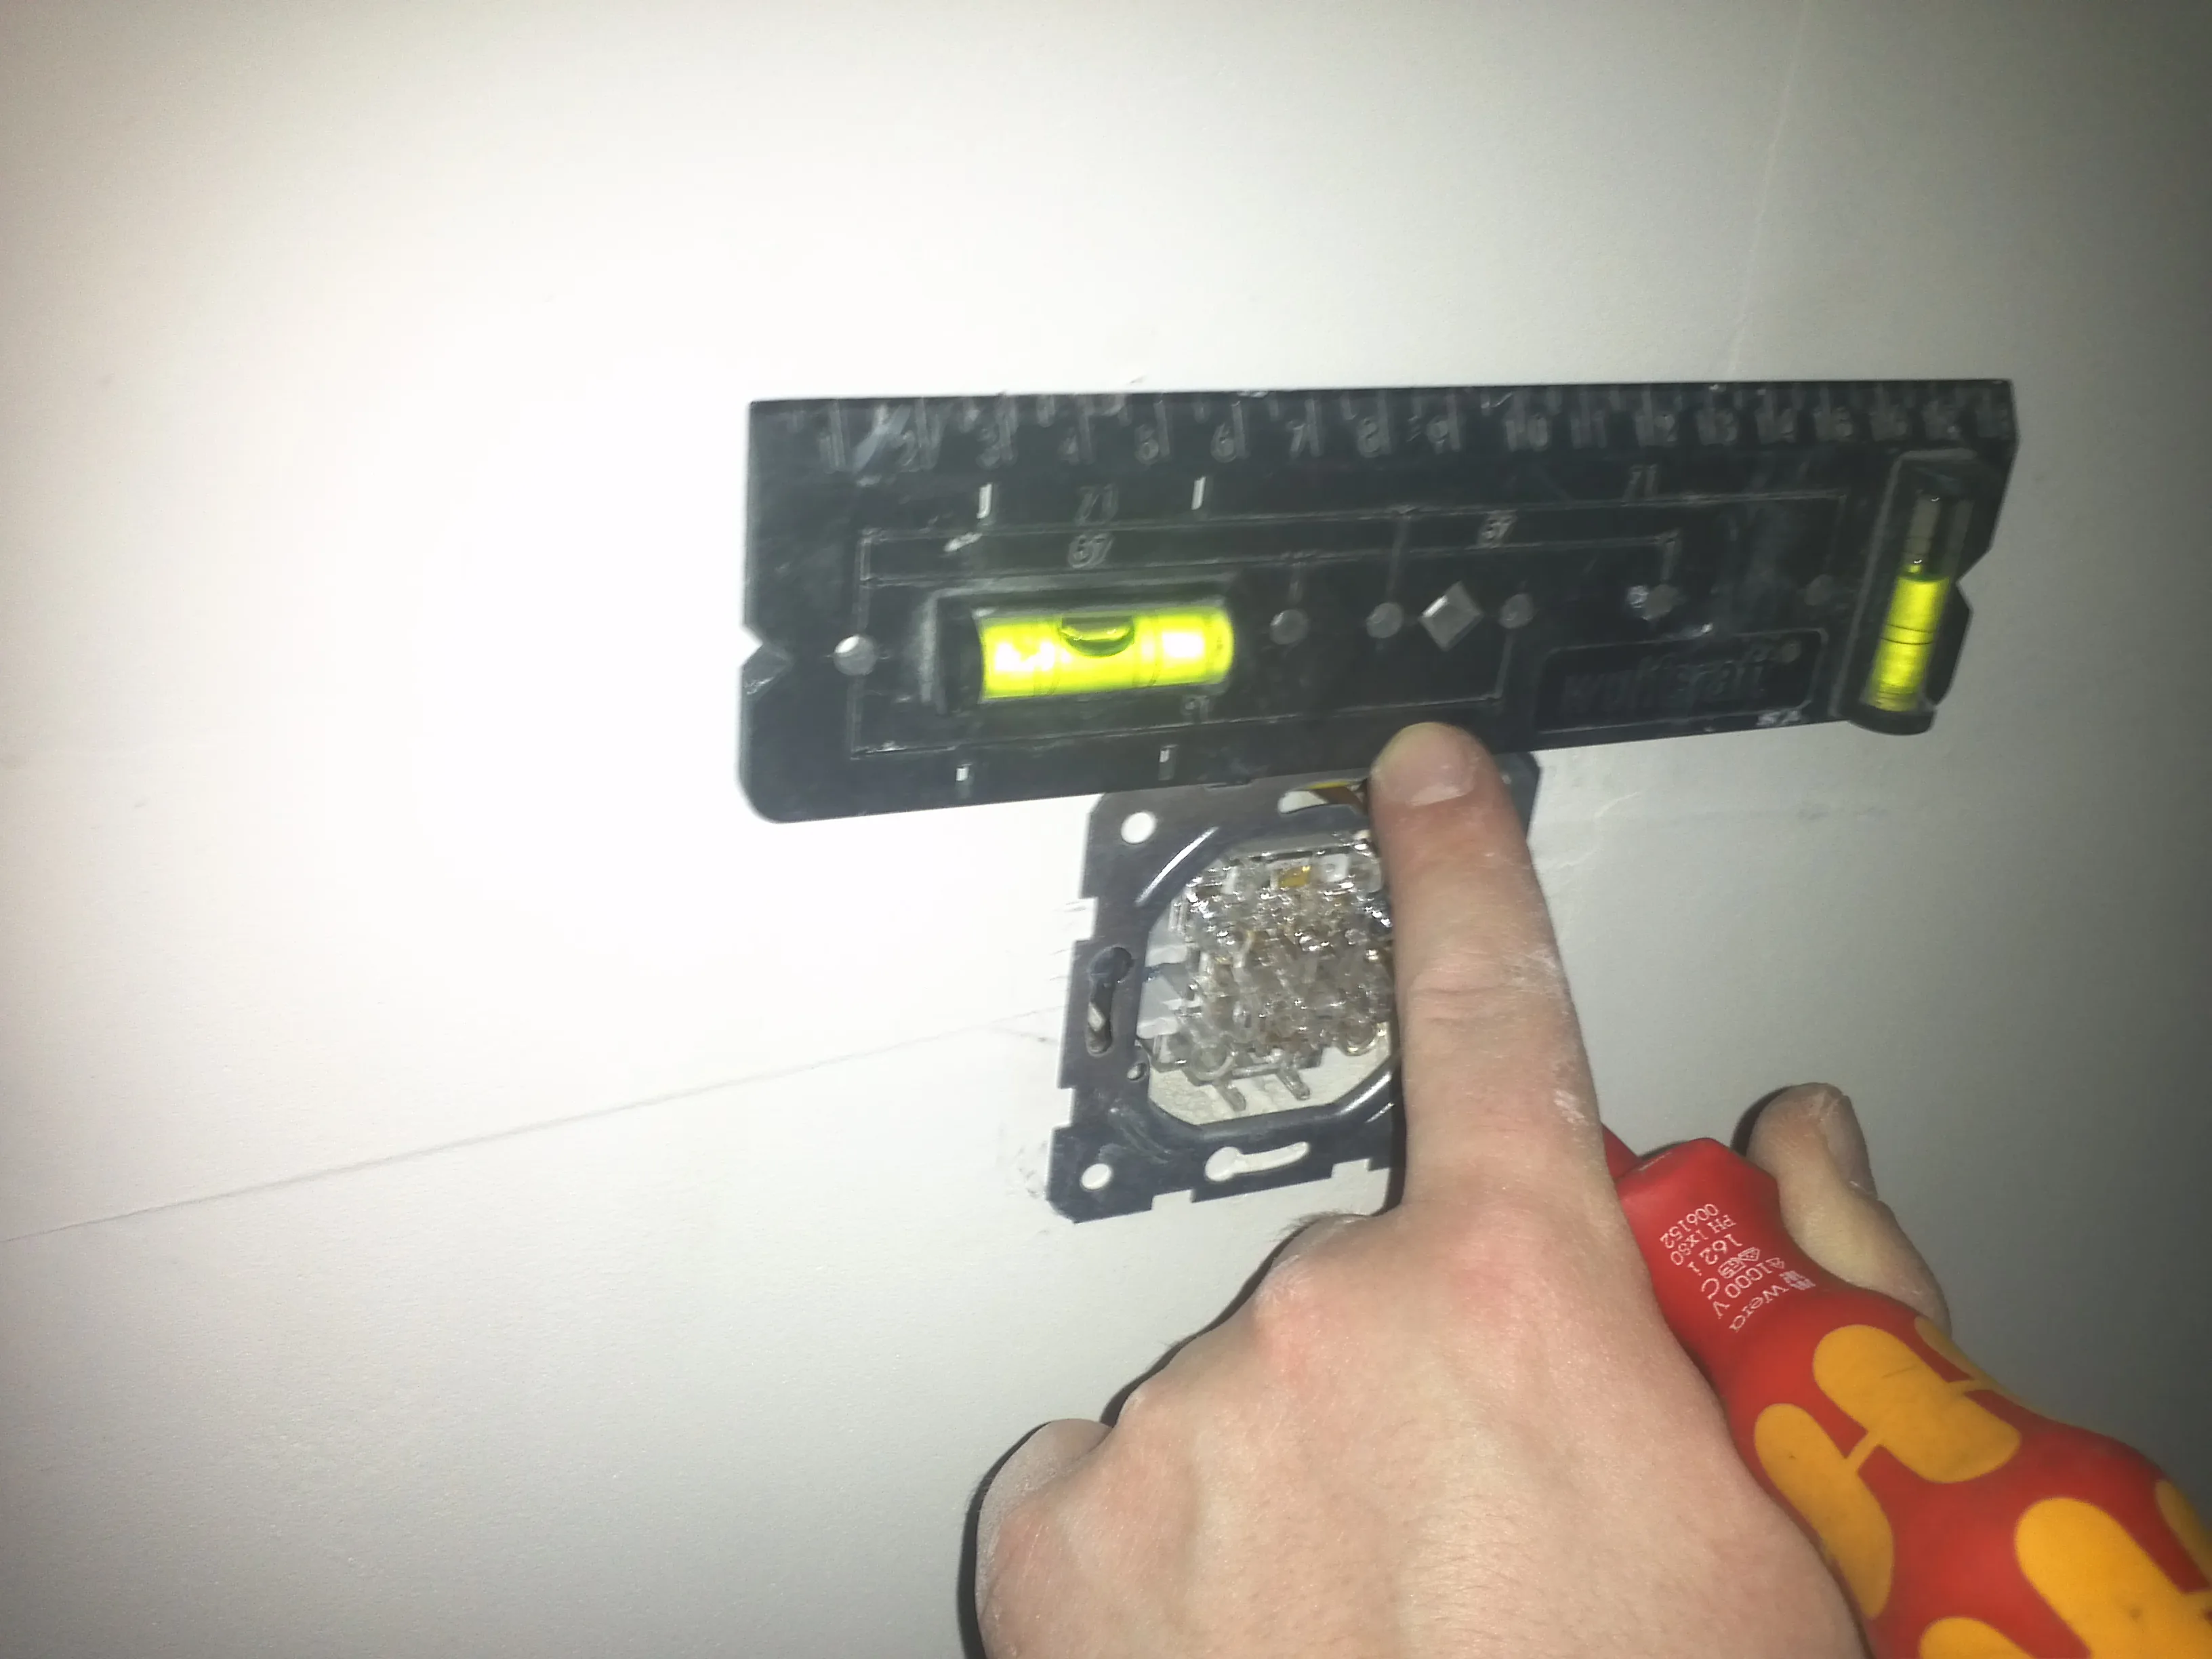
With power confirmed off, unscrew the switch plate, then the two screws holding the switch itself into the electrical box. Pull the switch out gently and take a phone photo of the wiring before you disconnect anything — this is your reference if anything looks different from a diagram later.
Loosen the terminal screws and free the wires. If they're pushed into the back of the switch (a "backstab" connection) rather than wrapped around a screw, use a small flathead screwdriver in the release slot next to each hole to free them — don't yank.
Step 3: Wire the New Switch
Single-pole: Connect the two hot wires to the two brass terminals — it doesn't matter which wire goes to which terminal on a single-pole switch. Connect the bare copper (or green) ground wire to the green ground screw.
3-way: Connect the wire that was on the old switch's common terminal (usually darker or marked "COM") to the new switch's common terminal. Connect the two traveler wires to the two brass traveler terminals — these two are interchangeable with each other, but the common terminal is not interchangeable with a traveler.
Wrap each wire clockwise around its screw (so tightening the screw pulls the wire in rather than pushing it out) and tighten firmly. A loose connection here is a heat and fire risk over time, so don't leave any wire just resting under a screw head.
Step 4: Reassemble and Test
Fold the wires neatly back into the box — sharp folds and cramming reduce the box's usable depth and stress the wires — and screw the switch into place. Attach the switch plate, then go back to the panel and restore power. Test the switch. If it's a dimmer or smart switch replacing a standard one, double-check the fixture is compatible (not all LED bulbs dim cleanly with every dimmer switch) before assuming a flicker is a wiring problem.
When to Stop and Call an Electrician
Bring in a pro if you find no ground wire and your local code requires one for the fixture type, if you see aluminum wiring, if the box is packed with more wires than a straightforward swap accounts for (often a sign it's actually a switch loop or multi-gang setup wired non-standard), or if anything smells burnt or looks scorched inside the box. Those situations are still fixable — they're just not a 15-minute job, and getting them wrong is the difference between an inconvenience and a house fire.