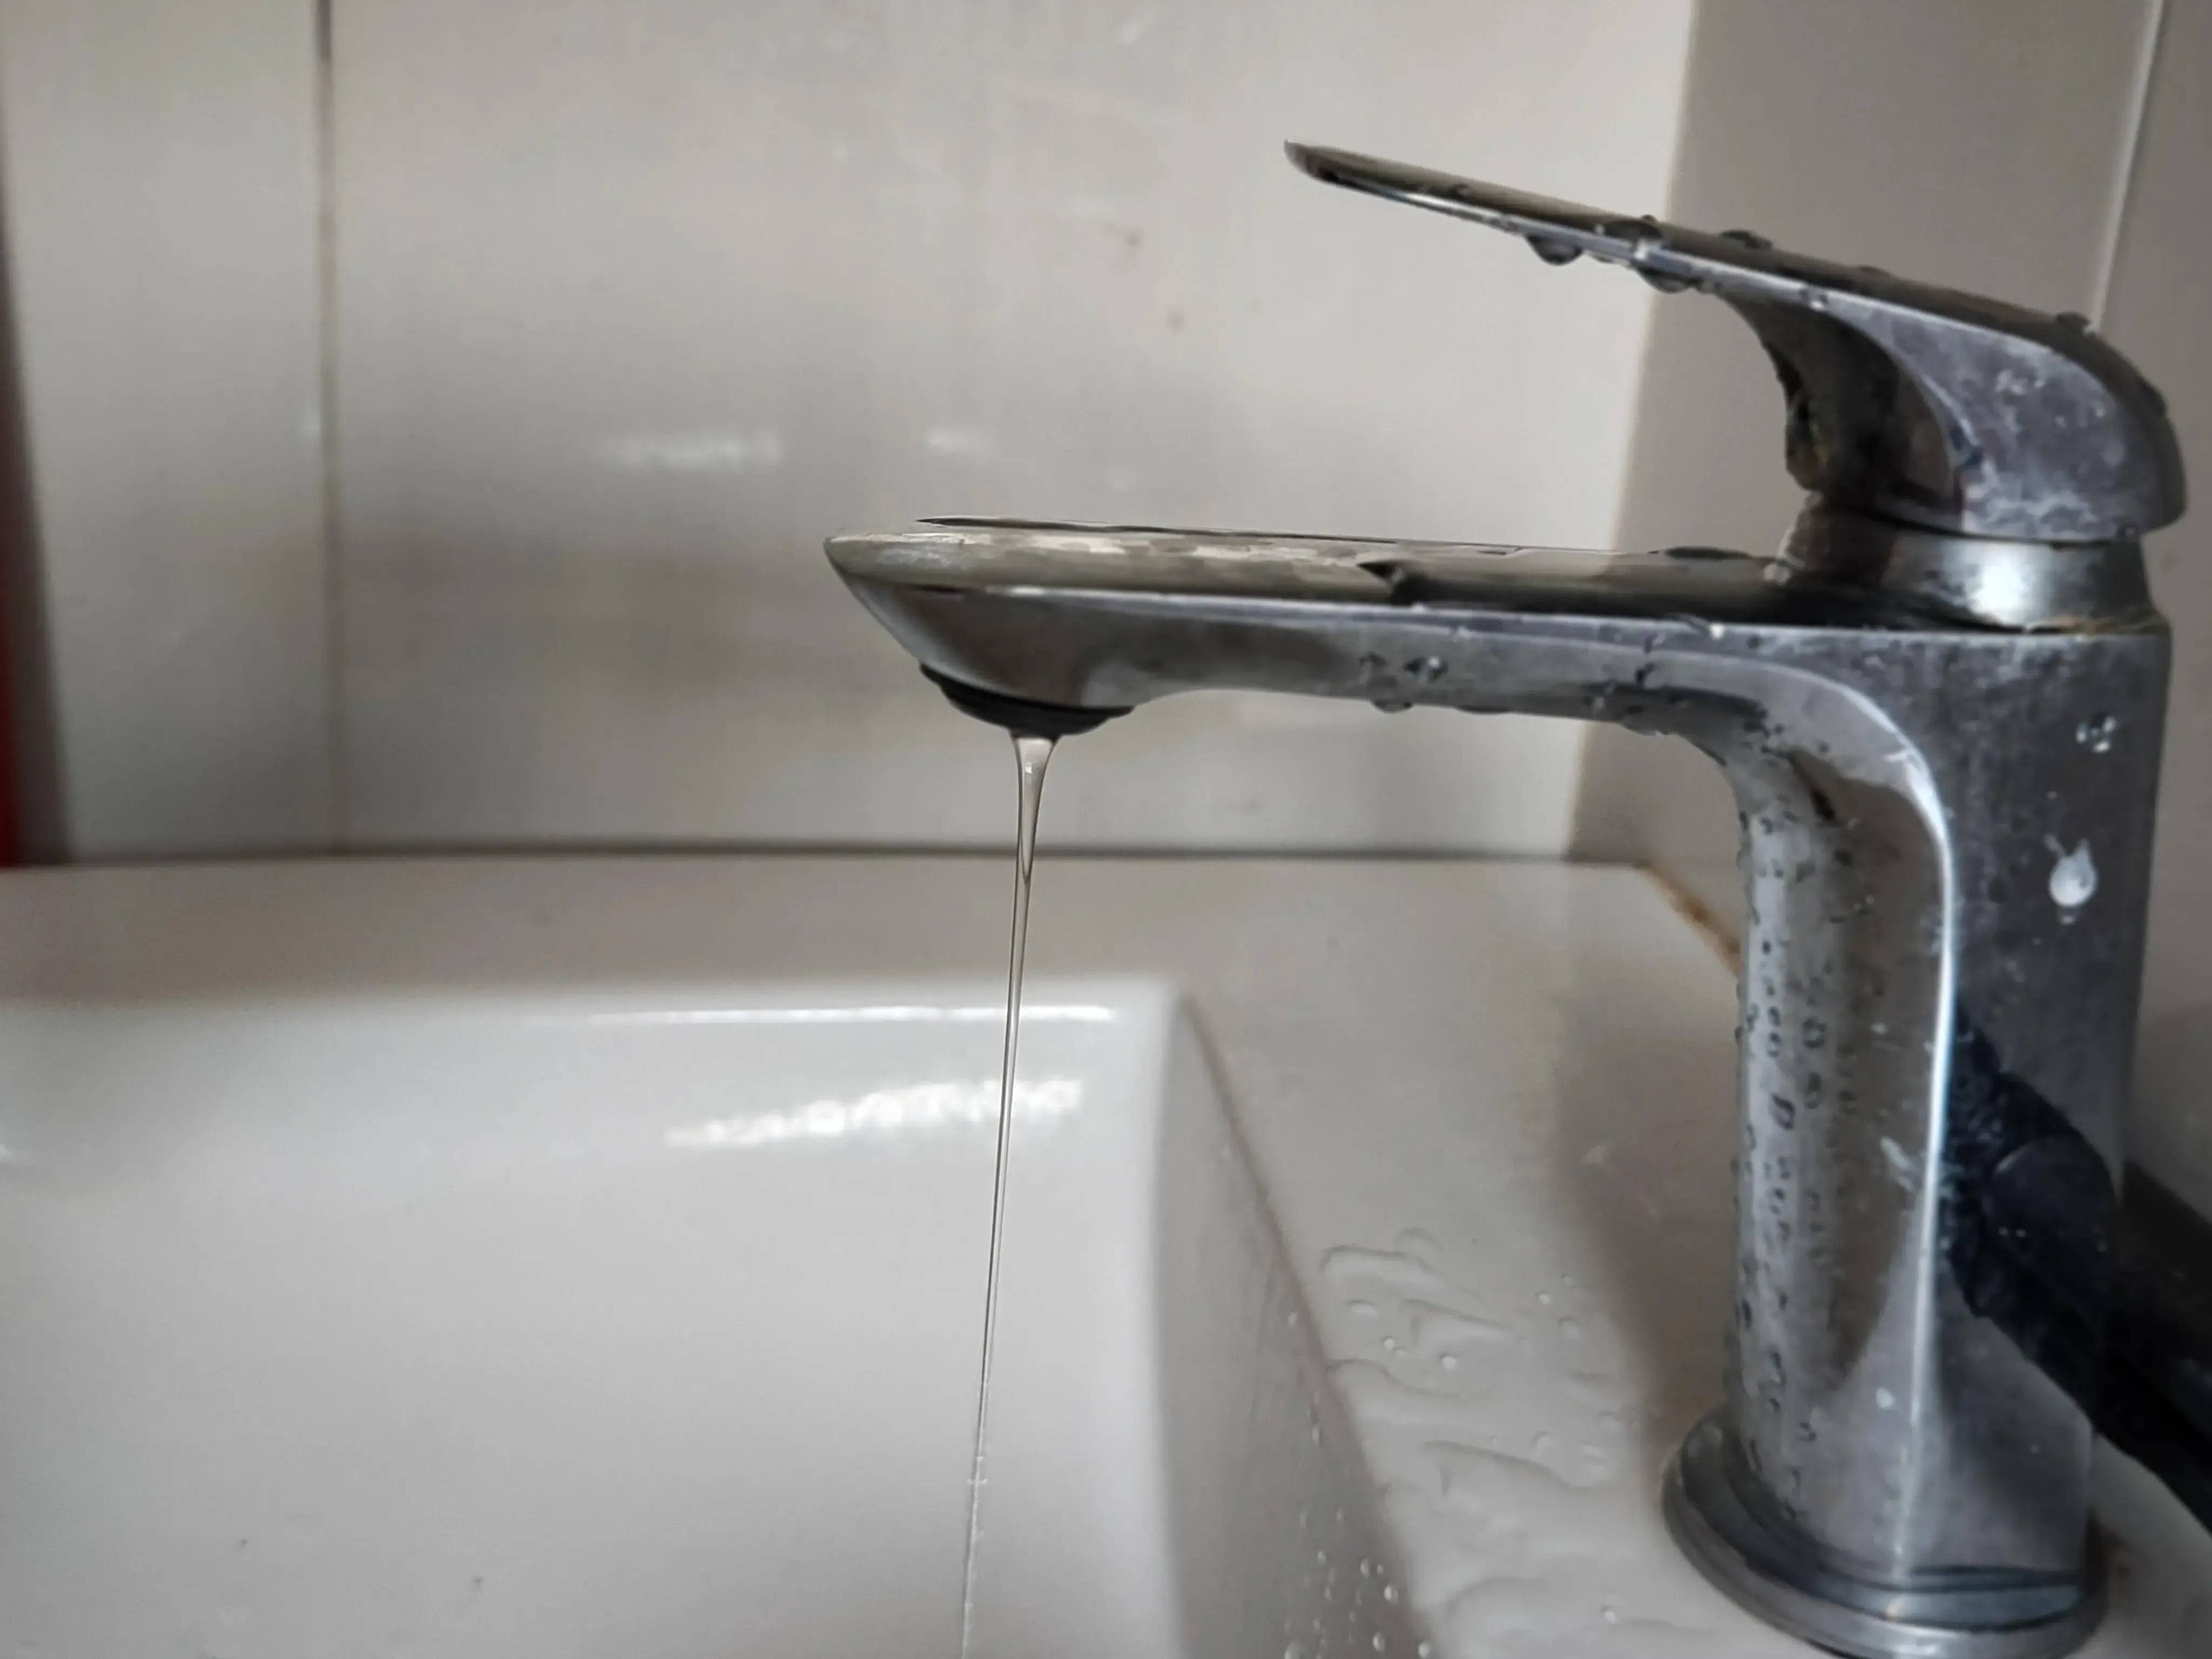
A dripping faucet isn't just noise — a leak of one drop per second wastes over 3,000 gallons a year, and it's telling you a rubber or ceramic seal somewhere inside has worn out. Learning how to fix a leaky faucet yourself takes about 30 to 60 minutes and $8–$20 in parts, versus $150+ for a service call. The trick isn't luck — it's correctly identifying which of the four faucet types you have, because each one fails a different way.
I've torn apart everything from 1970s compression faucets to modern ceramic-disc mixers, and the diagnosis step below is the one people skip and then buy the wrong part.
What Type of Faucet Do You Have?
Before you touch a wrench, look at the handle:
- Compression faucet — two separate handles (hot/cold) that take multiple turns to shut off fully. Almost always the culprit is a worn rubber washer.
- Ball faucet — a single lever that rocks over a rounded ball-shaped cap under the handle, common in older kitchen mixers.
- Cartridge faucet — single or double handle, moves up-down or side-to-side, no visible ball or wide disc base. Very common in modern bath and kitchen sets.
- Ceramic-disc faucet — single lever over a noticeably wide cylindrical base. These use two hard ceramic discs instead of rubber and rarely wear out, but their rubber seals still can.
If you're not sure, it's fine — the first two steps of disassembly (below) will show you which parts are inside.
Before You Start: Shut Off the Water
Turn both shutoff valves under the sink clockwise until they stop. Open the faucet to bleed off pressure and confirm the water's off, then plug the drain with a rag or stopper — screws and springs love to disappear down there. Lay a towel down and keep a small container for parts in the order you remove them; a phone photo before you take anything apart saves real time on reassembly.
Fix It by Type
Compression faucet (washer replacement). Remove the handle (usually one screw under a decorative cap), then unscrew the packing nut and the stem. At the bottom of the stem you'll find a rubber washer held by a brass screw. Replace the washer with an exact match — bring the old one to the store — and dab on a thin coat of plumber's silicone grease before reassembling. While it's apart, check the washer's screw for corrosion; a stripped screw is often the real reason a "new" washer still leaks.
Ball faucet (seats-and-springs kit). Remove the handle, unscrew the cap and collar, and lift out the ball assembly. Underneath sit small rubber seats and springs in each of the two water inlet holes — pry these out and replace them from a universal kit matched to your faucet brand. Check the ball itself for grooves or pitting; if it's scored, replace it too, since a worn ball won't seal against new seats.
Cartridge faucet. Pull the handle, remove the retaining clip or nut, and pull the cartridge straight up and out — cartridges are brand- and model-specific, so take the old one to the store rather than guessing. Note its orientation before removing it (there's usually a flat side or notch that only fits one way); installing it backward gets you reversed hot/cold or a faucet that won't shut off.
Ceramic-disc faucet. Remove the handle and escutcheon cap to expose the disc cylinder, then unscrew its mounting screws and lift the whole cartridge out. On the underside are two or three small rubber seals in recessed slots — pry them out with a small flathead screwdriver and replace them, then clean the seal recesses and the faucet body with white vinegar to dissolve mineral scale, which is the most common reason these leak even though the ceramic discs themselves rarely wear out. When you turn the water back on, open the faucet first and bring the supply valves up slowly — a sudden blast of pressure into an empty disc cartridge can crack it.
Reassemble and Test
Put everything back in reverse order, hand-tighten first, then snug with a wrench — overtightening cracks plastic parts and strips brass ones just as easily as leaving them loose. Turn the water back on slowly, run hot and cold for a minute, and check every joint you touched for drips, not just the spout.
When It's Not the Cartridge
If you've replaced the internal parts and it still drips from around the base of the spout rather than the tip, the problem is usually an O-ring on the spout itself, not the valve — a $2 part often sold separately. And if the leak is at the supply line connections under the sink rather than in the faucet body, that's a compression fitting or supply line issue, a different (and usually easier) fix.
Most leaky faucets are a 45-minute job once you know which part failed. Skip the guesswork, match the part to your faucet type, and you'll fix it once instead of buying three wrong kits.