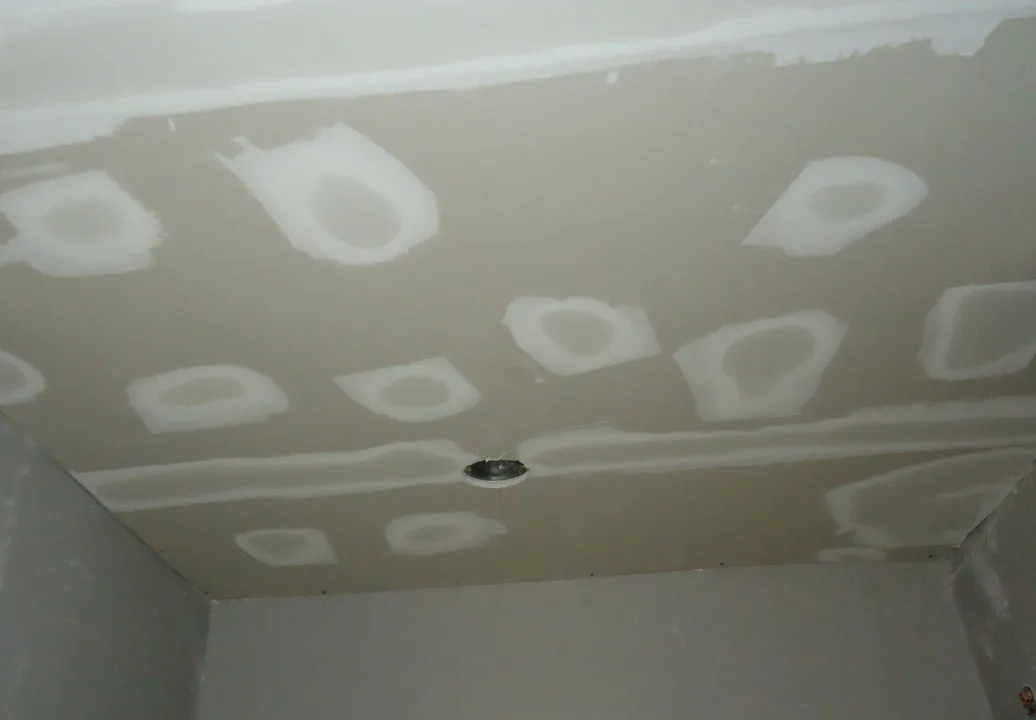
A nail hole in drywall from a picture frame, shelf bracket, or old hook is the easiest wall repair there is — but it's also the one most people overdo, digging out spackle with a butter knife and leaving a lumpy blob that shows through paint. Done right, patching a nail hole in drywall takes about 5 minutes of actual work plus drying time, and the patch should be invisible once it's painted. Here's the correct method, tools, and the mistake that ruins most attempts.
Spackle, Not Joint Compound
For anything under about a half-inch across — nail holes, small screw holes, picture-hook dents — reach for lightweight spackle, not drywall joint compound. Spackle is formulated to dry fast (as little as 30 minutes) with almost no shrinkage, so one application usually fills the hole completely. Joint compound is the right material for bigger holes, tape joints, and seams, but it shrinks as it cures and takes up to 24 hours to dry fully, meaning small holes patched with it often need a second coat you didn't plan for.
Lightweight spackle comes premixed in a small tub — no mixing, no mess, and it's forgiving for a first-timer.
Tools and Materials
- Lightweight spackle (a small tub covers dozens of holes)
- A flexible putty knife, 1–2 inches wide
- Fine-grit sandpaper (150–220 grit) or a sanding sponge
- A damp rag
- Matching paint and a small brush or roller
Step-by-Step
- Clean the hole. Press in any loose or crumbling drywall paper or gypsum around the edges with your fingertip, and knock off any raised paper fibers — spackle won't bond well to loose debris, and it'll show as a bump under paint.
- Load the putty knife. Scoop a small amount of spackle onto the blade — you need far less than it looks like at first.
- Fill the hole. Press the spackle into the hole at an angle, then draw the knife flat across the surface in one direction to level it flush with the wall. Avoid going back over the same spot repeatedly; that's what creates ridges. One clean pass beats five fussy ones.
- Let it dry fully. Even fast-drying spackle needs the full time stated on the tub — the surface can look dry while the center is still soft, and sanding too early tears it back out.
- Sand it smooth. Once fully dry, sand lightly with fine-grit paper using a circular motion, just enough to bring the patch flush with the surrounding wall. Wipe away dust with a slightly damp rag before painting — sanding dust left behind will dull the paint finish.
- Prime bare patches, then paint. Bare spackle is more porous than painted drywall and will flash (look duller or shinier) under a single topcoat. A thin coat of primer, or a "PVA" drywall primer, evens out the sheen so the patch disappears. Then match your wall paint with a small artist's brush for tiny spots, or a mini roller for anything larger than a coin.
Common Mistakes
- Overfilling. A mound of spackle proud of the wall surface catches light and casts a shadow even after painting — level it flush, not domed.
- Skipping primer. This is the single most common reason a "fixed" nail hole is still visible from across the room; it's not the patch, it's the paint sheen mismatch.
- Sanding wet spackle. It smears and pulls out of the hole instead of sanding down, forcing you to start over.
When It's Bigger Than a Nail Hole
If the hole is over about a half-inch — say from a doorknob strike or a removed anchor that tore the drywall paper — switch to a self-adhesive mesh patch and joint compound applied in two thin coats, sanding lightly between them. Spackle alone isn't built to bridge a gap that size and will crack once it cures.
For true nail holes, though, this is genuinely a 30-minute job start to finish, and it's the cheapest repair on this entire site — one tub of spackle costs less than a cup of coffee and fixes a wall's worth of holes.