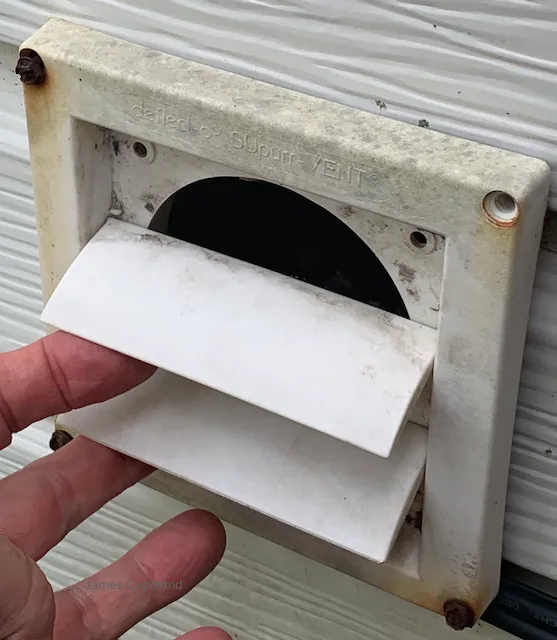
An outdoor faucet is one of the cheapest things in your house to protect and one of the most expensive to ignore. Winterize outdoor faucets before the first hard freeze of the season, and the fifteen-minute job you do in the fall saves you from a burst pipe you won't discover until it's already thawed out and leaking inside a wall.
Why this matters more than it looks
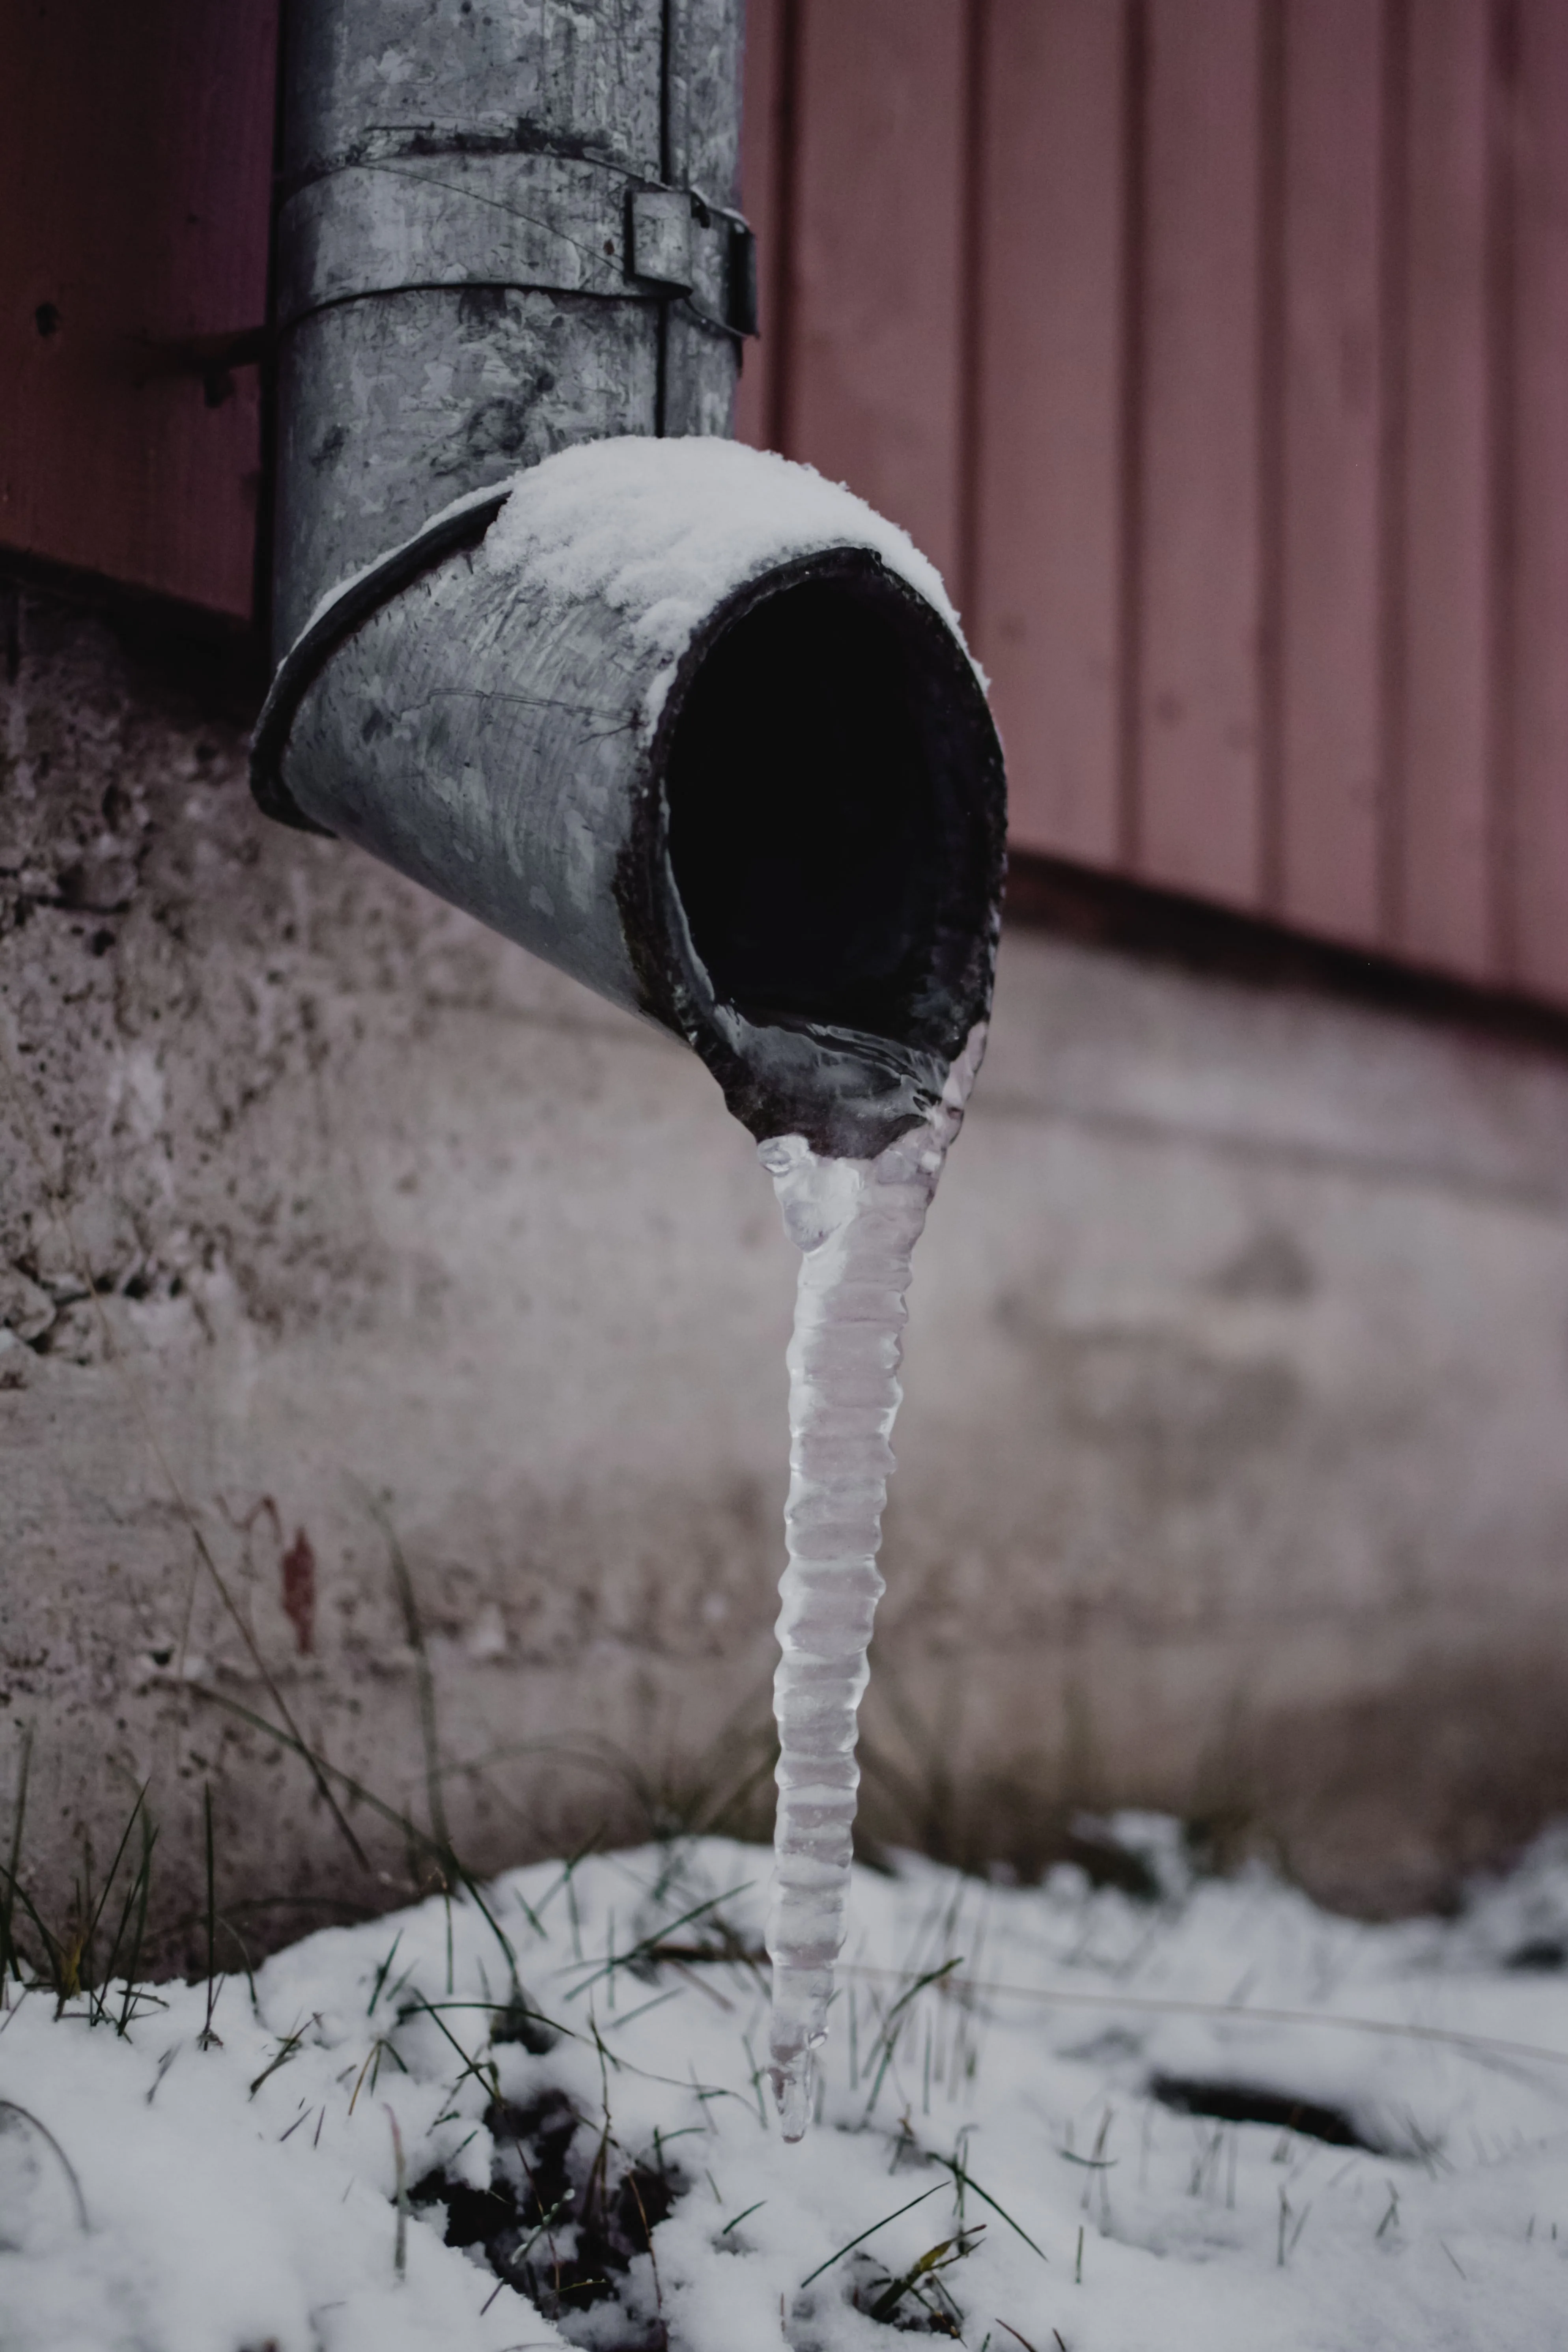
Water expands as it freezes. If water is trapped inside an outdoor faucet or the pipe feeding it, that expansion can crack the metal or the pipe itself — and because the crack is usually inside the wall, you won't see it happen. The failure shows up later, when things thaw and water starts running somewhere it shouldn't. This is why winterizing is a task with a real deadline: it has to happen before temperatures drop, not after.
When to do it
Winterize before the first hard freeze in your area — a night where temperatures are expected to drop to or below freezing for several hours. In most temperate climates that means getting it done sometime in mid-to-late fall, well before the first cold snap actually arrives. Don't wait for a forecast to force your hand; treat it as a standing fall task, the same weekend you'd do your last gutter clean or put away the hoses.
Step-by-step: winterizing a standard outdoor faucet
- Disconnect and drain any hoses attached to the faucet, and store them somewhere they won't freeze and crack.
- Locate the interior shutoff valve for that faucet, usually in a basement or crawlspace near where the pipe exits the house. Turn it off.
- Open the outdoor faucet and let it drain fully. With the interior valve closed, water left in the exterior section will drain out through gravity.
- Open the small bleeder cap or valve near the interior shutoff if your setup has one — this releases any water trapped between the two valves.
- Leave the outdoor faucet open through winter. This isn't an oversight — an open faucet gives any residual moisture room to expand without pressure building up.
- Install an insulated faucet cover (a foam-lined cap that fits over the spigot) for extra protection, especially in colder climates or on faucets facing north or exposed to wind.
- Disconnect and store drip irrigation or sprinkler lines the same way, following manufacturer guidance for blowing out the lines if you have an in-ground system.
If you have frost-free faucets
Many newer homes have frost-free (or "freeze-proof") spigots, which have a longer stem that moves the actual shutoff valve inside the heated part of the house. These are more forgiving, but they aren't automatic protection — they still fail if a hose stays connected over winter, because the hose traps water in the stem and defeats the entire design. The single most important winterizing step, frost-free or not, is the same: disconnect every hose before the first freeze.
The takeaway
Winterizing outdoor faucets is not a big job, but it's a deadline-driven one — the fix only works if it happens before ice forms, not after. Disconnect hoses, shut off and drain the interior valve, leave the spigot open, and add an insulated cover. Do it every fall as a fixed habit rather than a weather-triggered scramble, and you'll never have to find out what a cracked hose bib does to your basement ceiling.